Edible Watercolor Landscapes
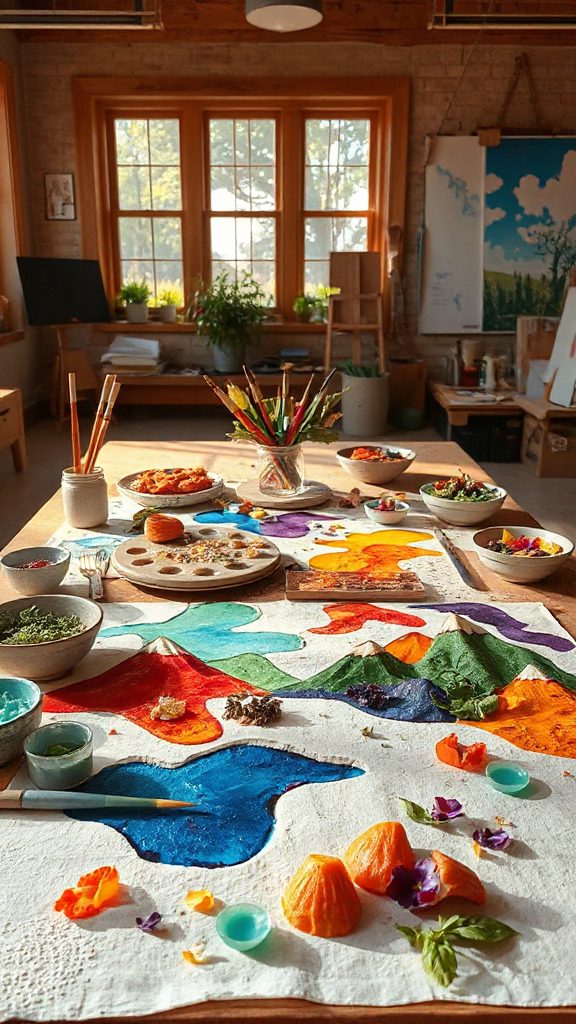
Edible Watercolor Landscapes is a delightful and creative culinary project that transforms the artistic flair of watercolor painting into an edible masterpiece. This dish allows you to explore the concept of food design by using various fruit purees and edible ingredients to create beautiful, colorful landscapes that delight both the eyes and the palate. Ideal for art classes or playful gatherings, these edible landscapes are sure to impress!
| Ingredient | Quantity |
|---|---|
| Rice paper sheets | 4 sheets |
| Fresh strawberries | 1 cup |
| Blueberries | 1 cup |
| Kiwi | 1 large |
| Coconut milk | ½ cup |
| Honey or maple syrup | 2 tablespoons |
| Edible flowers (optional) | As desired |
| Mint leaves (optional) | For garnish |
Cooking Steps:
- Prepare the fruit purees: Blend the strawberries, blueberries, and kiwi separately until smooth, adding a tablespoon of water if needed to achieve a painting consistency.
- Lay out the rice paper sheets on a flat surface and use the purees to paint landscapes, creating different sections for sky, land, and water.
- Drizzle coconut milk over the top for added texture and depth, and sweeten with honey or maple syrup if desired.
- Garnish with edible flowers and mint leaves to enhance the artistic presentation.
- Allow the edible landscapes to set for a few minutes before serving, then slice into pieces to enjoy!
- The Original Pro Chopper - Our superstar veggie slicer has been creating waves on TikTok! Simple to use,...
- Easy Meal Prep with Rust-Resistant Blades - Our vegetable chopper is perfect for anyone who wants to eat...
- 5-Star Design - The soft-grip TPU handle ensures controlled chopping, while the non-skid rubber base...
Fruit and Vegetable Sculptures

Fruit and Vegetable Sculptures are a fun and imaginative way to celebrate the art of food design, turning fresh produce into stunning works of art. This hands-on project is perfect for art classes or gatherings where creativity flows, as it invites participants to carve, shape, and arrange fruits and vegetables into eye-catching sculptures that impress and delight.
| Ingredient | Quantity |
|---|---|
| Carrots | 2 large |
| Cucumbers | 2 medium |
| Bell peppers (various colors) | 3 total (1 of each color) |
| Radishes | 1 cup |
| Cherry tomatoes | 1 cup |
| Zucchini | 1 medium |
| Toothpicks | As needed |
| Edible flowers (optional) | For garnish |
| Fresh herbs (optional) | For garnish |
Cooking Steps:
- Wash and dry all fruits and vegetables thoroughly.
- Use a vegetable peeler and knife to carve and shape the carrots, cucumbers, and bell peppers into desired animal or creative shapes.
- Assemble the sculptures using toothpicks to hold pieces together and create balance.
- Use radishes and cherry tomatoes as accents or features (like eyes or flowers) for your sculptures.
- Garnish your masterpiece with edible flowers and fresh herbs for an extra artistic touch before presenting!
- Makes Everything Simple : Just forget your bagged cheese! Only turn the handle for several times and get...
- Premium Material : All parts of the rotary cheese grater are made of food grade ABS material, no BPA. The...
- Three Option Grater : The parmesan cheese grater finishes food preparation with slicing, shredding and...
Chocolate Painting Techniques
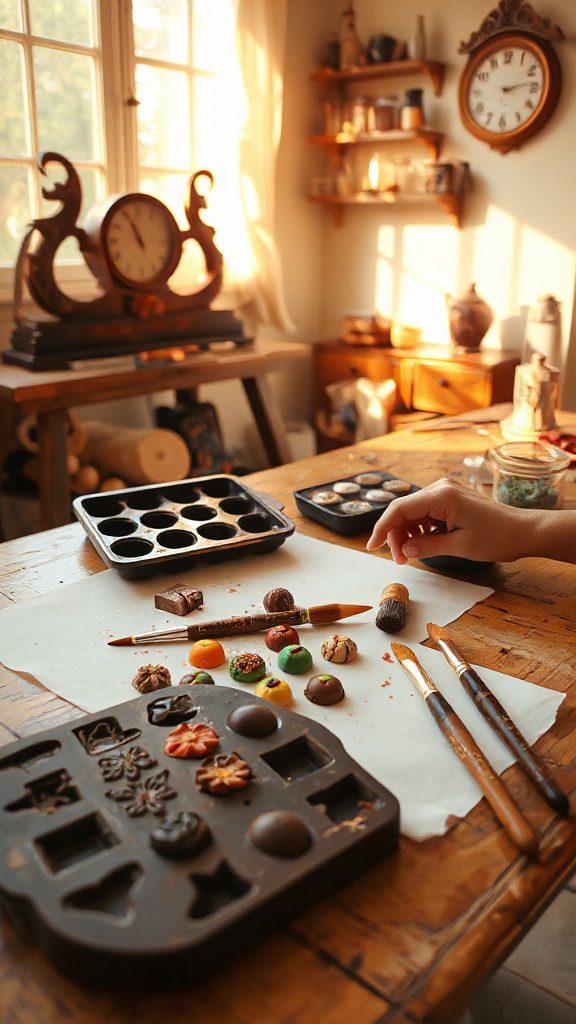
Chocolate painting is a creative and delightful way to transform edible chocolate into an art form. This technique is perfect for art classes or culinary workshops, allowing participants to express their artistry on a canvas made of chocolate. By using melted chocolate and various tools, you can create beautiful designs, patterns, and images, making your dessert not just tasty, but visually stunning.
| Ingredient | Quantity |
|---|---|
| Dark chocolate | 200 grams |
| White chocolate | 100 grams |
| Milk chocolate | 100 grams |
| Edible food colors (optional) | Various colors (as needed) |
| Parchment paper | 1 sheet |
| Paintbrushes | As needed |
| Palette knife or spatula | 1 |
| Templates (optional) | As desired |
Cooking Steps:
- Chop dark, milk, and white chocolate into small pieces and melt each type using a double boiler or microwave.
- Once melted, allow the chocolate to cool slightly until it’s pourable but not too thick.
- Use paintbrushes to apply the melted chocolate onto parchment paper to create your desired designs.
- If using edible food colors, mix them into melted white chocolate for vibrant hues.
- Allow the chocolate paintings to set at room temperature or in the refrigerator before carefully peeling them off the parchment paper for decorating desserts or serving as artwork.
- 💰 REDUCE WASTE AND SAVE MONEY: Chef Preserve keeps FOOD FRESH 5 TIMES LONGER than non-vacuum storage...
- ✅ POWERFUL, QUICK & EASY TO USE: Simply press the button to start. The device vacuum seals a bag in 5...
- ♻️ REUSABLE & RESEALABLE BAGS: Chef Preserve comes with dishwasher, freezer, refrigerator, and...
Culinary Photography Inspired by Still Life
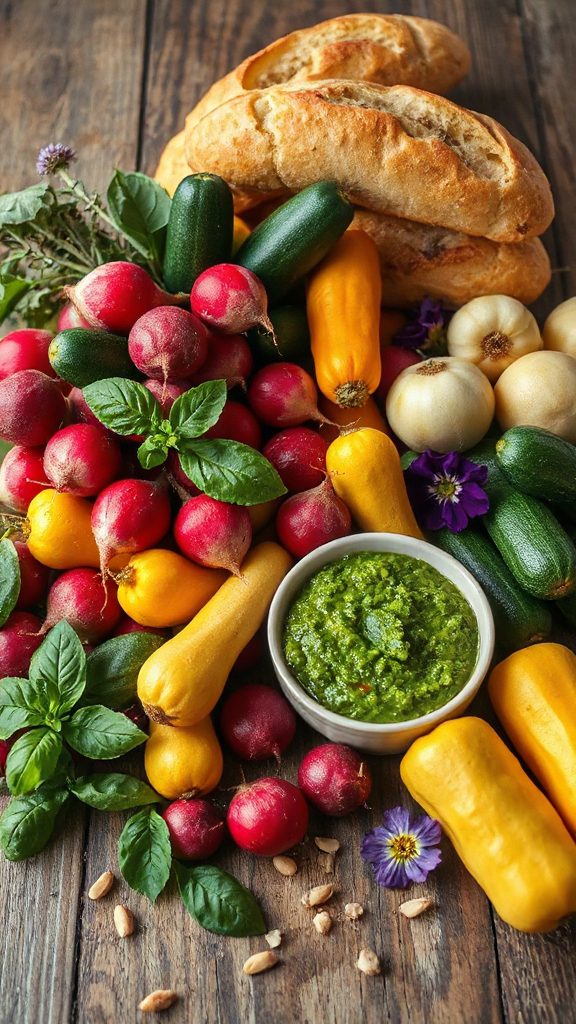
Culinary photography inspired by still life is a fantastic way to elevate your food presentation skills while creating visually striking images. This approach emphasizes the arrangement of food items in a way that draws attention to their textures, colors, and shapes. By carefully selecting ingredients and composing them artistically, you can create beautiful still life scenes that enhance your culinary creations and provide a feast for the eyes as well as the palate.
| Ingredient | Quantity |
|---|---|
| Fresh fruits (e.g., apples, pears, berries) | 4-5 assorted pieces |
| Fresh vegetables (e.g., radishes, carrots, bell peppers) | 3-4 assorted pieces |
| Edible flowers (e.g., pansies, nasturtiums) | A handful |
| Assorted herbs (e.g., basil, mint) | A small bunch |
| Cheese (e.g., brie, cheddar) | 100 grams |
| Bread (e.g., baguette, crackers) | A few slices |
| Nuts (e.g., almonds, walnuts) | A small handful |
| Specialty sauces (e.g., balsamic glaze, olive oil) | For drizzling |
Cooking Steps:
- Choose a variety of colorful fruits and vegetables to work with, ensuring they complement each other visually.
- Arrange the fresh items on a clean surface or a decorative platter, paying attention to shapes and colors.
- Incorporate edible flowers and herbs into your arrangement for added texture and vibrancy.
- Include small servings of cheese, bread, and nuts to create a well-rounded display.
- Drizzle specialty sauces lightly over the arrangement to enhance visual appeal and suggest flavor.
- Use natural light and creative angles to capture your still life arrangement in photographs, focusing on close-ups and overall composition.
- Generous Capacity: 7-quart slow cooker that comfortably serves 9+ people or fits a 7-pound roast
- Cooking Flexibility: High or low slow cooking settings, with convenient warm function for ideal serving...
- Convenient: Set it and forget it feature enables you to cook while at work or performing daily tasks
Plating as a Form of Art
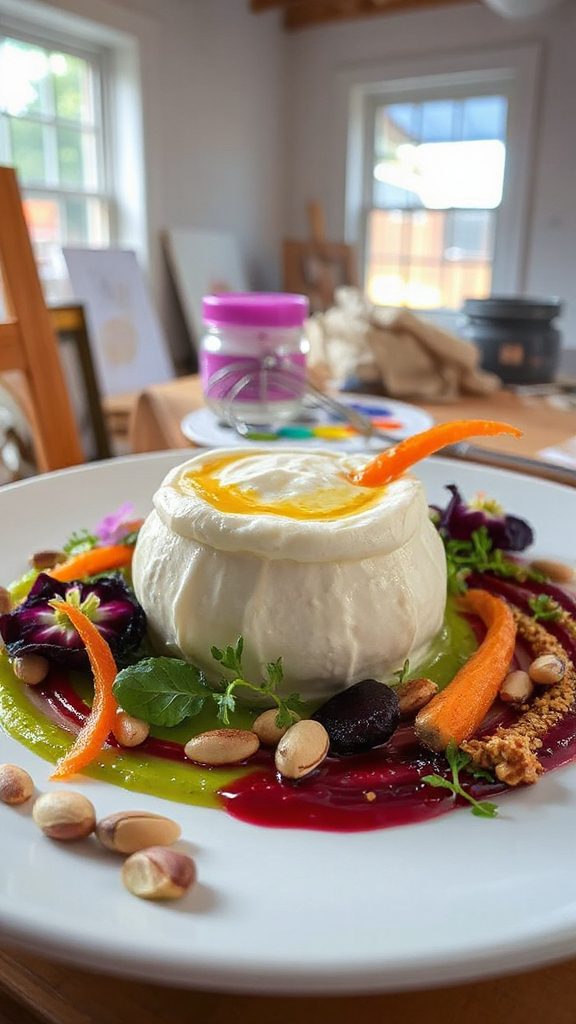
Creating a beautifully plated dish is not just about the flavors; it’s also an opportunity to express your creativity and artistic flair. The way food is presented can enhance the dining experience for both you and your guests. By paying attention to the layout, color contrast, and textures in your dish, you can transform a simple recipe into a visually stunning work of art. Here, we’ll explore the art of plating through a vibrant vegetable and fruit salad with an artistic twist.
| Ingredient | Quantity |
|---|---|
| Mixed salad greens | 100 grams |
| Cherry tomatoes | 10 pieces |
| Cucumber | 1 medium |
| Avocado | 1 ripe |
| Radishes | 3 pieces |
| Edible flowers (for garnish) | A handful |
| Feta cheese | 50 grams |
| Olive oil | 2 tablespoons |
| Balsamic vinegar | 1 tablespoon |
| Salt and pepper | To taste |
Cooking Steps:
- Begin by washing and drying the mixed salad greens and arranging them as a base on your plate.
- Slice the cherry tomatoes, cucumber, and radishes thinly for a delicate appearance.
- Cut the avocado into fan slices or cubes for a visually appealing contrast.
- Scatter the sliced vegetables gracefully over the salad greens, creating layers and patterns.
- Crumble the feta cheese on top and add edible flowers for a pop of color.
- Drizzle olive oil and balsamic vinegar around the plate rather than directly over the salad for a refined finish.
- Season with salt and pepper to taste before serving your artfully plated creation.
- 100% Leak-proof: Guaranteed no-spill seal and secure latches
- Crystal-clear Tritan Built: Stain-resistant and odor-resistant material for a clear view of contents
- Lightweight & Sturdy: Easy to carry, yet durable for everyday use
Themed Garden Party Creations
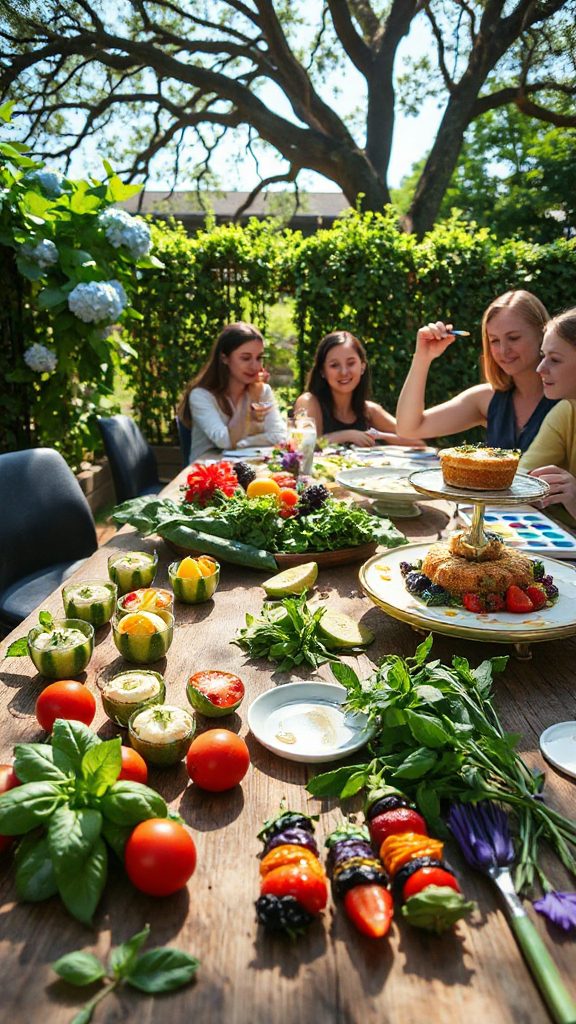
A vibrant and invigorating dish perfect for a themed garden party is a floral-infused quinoa salad. This colorful and nutritious salad combines fresh vegetables, quinoa, and edible flowers to create a stunning centerpiece that not only delights the eyes but also tantalizes the taste buds. Packed with flavor, crunch, and a hint of floral notes, this salad is a perfect fit for an outdoor celebration.
| Ingredient | Quantity |
|---|---|
| Quinoa | 1 cup |
| Water | 2 cups |
| Cherry tomatoes | 10 pieces |
| Cucumber | 1 medium |
| Bell pepper (any color) | 1 medium |
| Red onion | 1 small |
| Edible flowers (e.g., nasturtiums, pansies) | A handful |
| Fresh parsley | 1/4 cup, chopped |
| Olive oil | 3 tablespoons |
| Lemon juice | 2 tablespoons |
| Salt and pepper | To taste |
Cooking Steps:
- Rinse the quinoa under cold water, then combine it with 2 cups of water in a pot and bring to a boil. Reduce heat, cover, and simmer for about 15 minutes until the quinoa is fluffy and water is absorbed. Let it cool.
- Dice the cherry tomatoes, cucumber, bell pepper, and red onion into bite-sized pieces while the quinoa cools.
- In a large mixing bowl, combine the cooked quinoa, chopped vegetables, and parsley.
- In a small bowl, whisk together olive oil, lemon juice, salt, and pepper, then pour over the quinoa mixture and toss to combine.
- Gently fold in the edible flowers, being careful not to bruise them, and serve chilled or at room temperature for a delightful garden party dish.
- 𝗘𝗳𝗳𝗼𝗿𝘁𝗹𝗲𝘀𝘀 𝗪𝗲𝗶𝗴𝗵𝗶𝗻𝗴: Supports 5 units...
- 𝗣𝗿𝗲𝗰𝗶𝘀𝗲 𝗥𝗲𝘀𝘂𝗹𝘁𝘀: Accurately weighs up to 11 lb/5 kg with 1 g...
- 𝗦𝗶𝗺𝗽𝗹𝗲 & 𝗖𝗼𝗺𝗽𝗮𝗰𝘁: The small and sleek scale is a perfect fit for...
Cake Decorating With an Artistic Flair
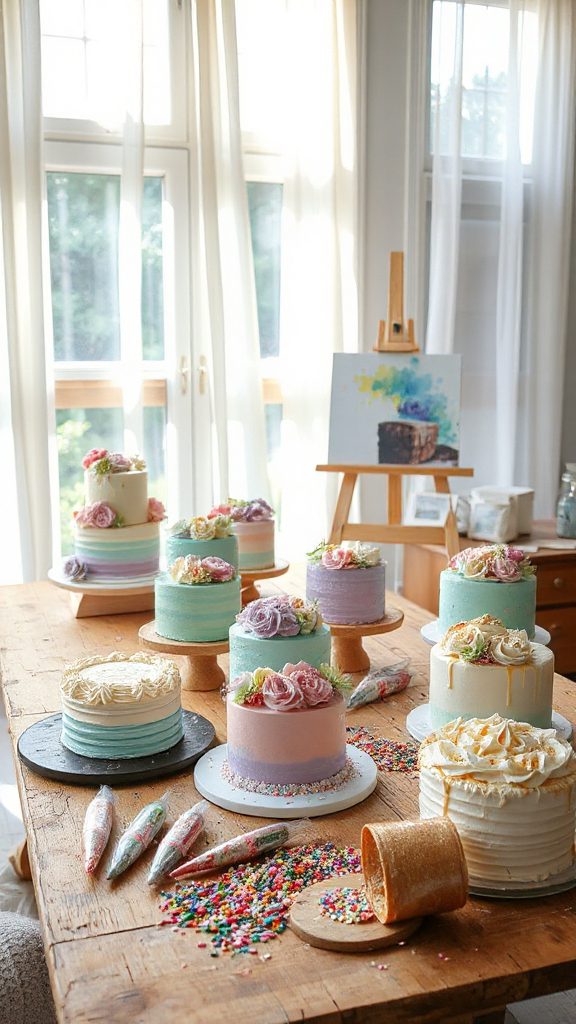
Cake Decorating With an Artistic Flair is an opportunity to combine culinary skills with creativity, transforming an ordinary cake into a stunning work of art. This recipe focuses on making a beautifully decorated cake adorned with vibrant colors and intricate designs reminiscent of an artistic masterpiece. By using various decorating techniques, you’ll elevate your cake to the next level, making it the star of any celebration.
| Ingredient | Quantity |
|---|---|
| Cake (any flavor) | 1 (8-inch round) |
| Buttercream frosting | 3 cups |
| Food coloring (gel or liquid) | Assorted colors |
| Piping bags | 4-6 bags (various sizes) |
| Piping tips | 3-4 different types |
| Edible glitter or sprinkles | As desired |
| Fresh fruits (e.g., berries) | For decoration |
| Chocolate shavings or curls | Optional decoration |
Cooking Steps:
- Bake and cool an 8-inch round cake according to your favorite recipe and level the top if necessary.
- Apply a thin layer of buttercream frosting to create a crumb coat, then chill the cake for about 30 minutes.
- Divide the remaining buttercream into separate bowls and tint each with different colors of food coloring.
- Fill piping bags with the colored frosting, using different tips for various designs.
- Start decorating the cake using piping techniques such as rosettes, flowers, or swirls in your chosen colors.
- Finish the cake with edible glitter, sprinkles, or fresh fruit for an eye-catching effect.
- Allow the cake to set for a short while before serving to guarantee the decorations hold their shape. Enjoy your artistic creation!
- Instant Read Food Thermometer | Our instant read thermometer features a temperature probe and advanced,...
- Multi-Use | From bbq thermometer to baking thermometer, our digital food thermometer for cooking is...
- Easy-Read Digital Thermometer For Cooking | Large instant thermometer dial with bright blue backlight...
Mosaic Art With Colorful Ingredients
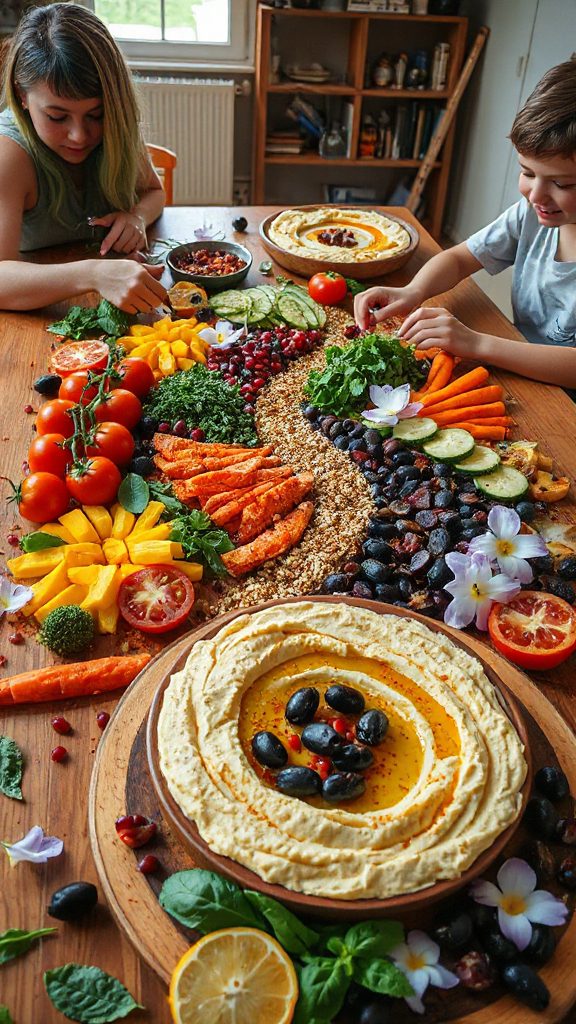
Mosaic Art With Colorful Ingredients is a fun, creative way to incorporate visually appealing designs into your culinary creations. This dish allows you to use a variety of vibrant vegetables, fruits, and grains to create stunning mosaic patterns that serve as both art and food. The best part? It’s not only a feast for the eyes but also for the palate, making it a perfect centerpiece for any table.
| Ingredient | Quantity |
|---|---|
| Cooked quinoa or couscous | 2 cups |
| Cherry tomatoes | 1 cup, halved |
| Bell peppers (mixed colors) | 1 cup, diced |
| Black olives | 1/2 cup, sliced |
| Cucumbers | 1 cup, diced |
| Avocado | 1, diced |
| Fresh herbs (e.g., parsley) | For garnish |
| Olive oil | 2 tablespoons |
| Lemon juice | 1 tablespoon |
| Salt and pepper | To taste |
Cooking Steps:
- Prepare your base by cooling cooked quinoa or couscous, then spread it evenly on a large platter or dish.
- Arrange the halved cherry tomatoes, diced bell peppers, sliced black olives, diced cucumbers, and diced avocado on top of the quinoa in a mosaic pattern, creating an artistic design.
- Drizzle olive oil and lemon juice over the artwork, and season with salt and pepper as desired.
- Garnish with fresh herbs to add an extra pop of color and flavor.
- Serve immediately and enjoy the colorful display along with the lovely flavors of your dish!
- Versatile 54-Piece Collection: Elevate your kitchen with the Home Hero 54-Piece Kitchen Utensil Set, a...
- Durable and Long-Lasting: Crafted from premium stainless steel, these kitchen utensils are designed to...
- Perfect Holiday Gift: Delight your loved ones with this kitchen utensils gift set this festive season....
Herb and Spice Paints

Herb and Spice Paints are a unique and innovative way to bring art into your culinary creations. This idea transforms plain sauces and dips into vibrant, edible art supplies that can be used to paint beautiful designs on plates, providing both visual appeal and delicious flavor to your dishes. Perfect for an artful brunch or a dinner party, these colorful paints will surprise your guests and elevate your presentation.
| Ingredient | Quantity |
|---|---|
| Fresh basil leaves | 1 cup |
| Fresh parsley leaves | 1 cup |
| Fresh dill | 1/2 cup |
| Spinach | 1 cup |
| Olive oil | 1/4 cup |
| Lemon juice | 2 tablespoons |
| Salt | To taste |
| Ground spices (e.g., paprika, turmeric, cumin) | To taste |
Cooking Steps:
- Blend each herb or vegetable (basil, parsley, dill, spinach) separately with a bit of olive oil and lemon juice until smooth, adding salt to taste.
- For colors, mix ground spices (paprika for red, turmeric for yellow, cumin for brown) with a small amount of water or olive oil to create a paint-like consistency.
- Transfer each mixture into small bowls or squeeze bottles for easy application.
- Use these herb and spice paints to create decorative patterns on plates before serving your main dishes, enhancing both aesthetic appeal and flavor. Enjoy your artistic edible display!
- 24-ounce insulated stainless-steel water bottle with a FreeSip spout and push-button lid with lock
- Patented FreeSip spout designed for either sipping upright through the built-in straw or tilting back to...
- Protective push-to-open lid keeps spout clean; convenient carry loop doubles as a lock
Creative Bread Art
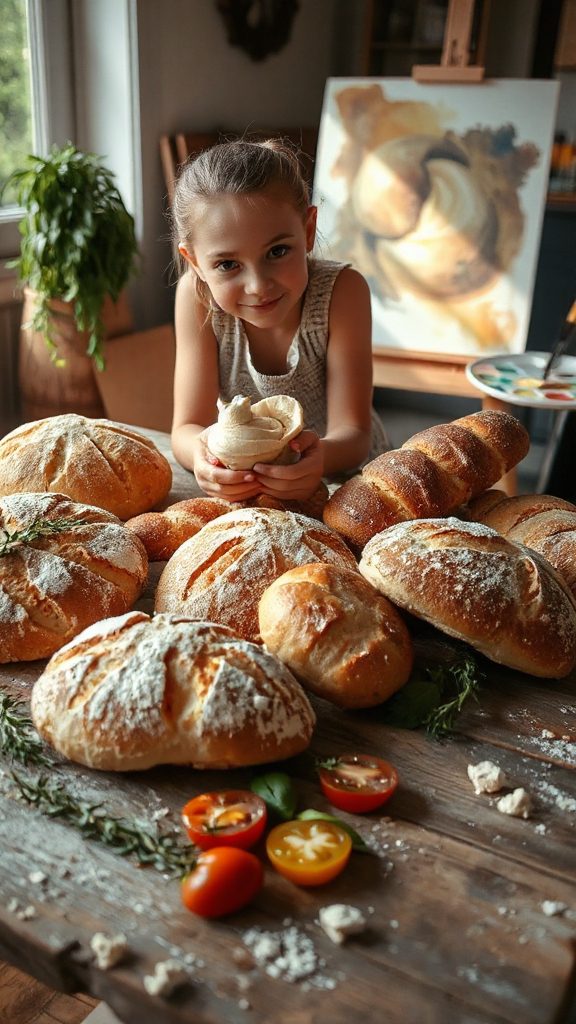
Creative Bread Art is a fun and imaginative way to elevate your baking skills by transforming simple dough into visually stunning creations. This technique involves shaping, decorating, and embellishing bread to create artistic designs that are not only appealing to the eye but also delicious when served fresh. Perfect for gatherings, celebrations, or a cozy family dinner, Creative Bread Art invites everyone to play with their food in the best way possible!
| Ingredient | Quantity |
|---|---|
| All-purpose flour | 4 cups |
| Warm water | 1 1/2 cups |
| Active dry yeast | 2 teaspoons |
| Sugar | 1 tablespoon |
| Salt | 1 teaspoon |
| Olive oil | 2 tablespoons |
| Seeds (e.g., sesame, poppy) | For topping |
| Optional coloring (beet juice, spinach puree) | As needed |
Cooking Steps:
- In a large bowl, dissolve sugar in warm water and sprinkle yeast on top; let it sit for about 5 minutes until foamy.
- Add olive oil, salt, and gradually mix in flour until a soft dough forms.
- Knead the dough on a floured surface for about 10 minutes until smooth and elastic.
- Allow the dough to rise in a warm place covered with a clean cloth for 1 to 2 hours, or until doubled in size.
- Divide the risen dough into portions and shape into desired forms – braids, rolls, or decorative figures.
- Brush with optional colors made from beet juice or spinach puree for added visual appeal.
- Top with seeds and let the shaped dough rest for an additional 30 minutes before baking.
- Preheat the oven to 375°F (190°C) and bake for 20-25 minutes until golden brown.
- Allow to cool slightly before serving, showcasing your creative bread art creations! Enjoy the deliciousness and artistry together!
Food Typography and Lettering

Food Typography and Lettering allows you to combine art and culinary skills by crafting visually appealing food that spells out messages or designs. This creative approach to cooking involves using ingredients to form letters, words, or playful shapes that can enhance the presentation of your meals, making them more engaging and fun for all ages. Whether for a special occasion or just a playful dinner, Food Typography transforms ordinary dishes into extraordinary statements.
| Ingredient | Quantity |
|---|---|
| All-purpose flour | 3 cups |
| Warm water | 1 cup |
| Active dry yeast | 2 teaspoons |
| Sugar | 1 tablespoon |
| Salt | 1 teaspoon |
| Olive oil | 2 tablespoons |
| Food coloring | As needed |
| Optional toppings (herbs, cheese) | As preferred |
Cooking Steps:
- In a bowl, combine warm water, sugar, and yeast; let it activate for about 5 minutes until foamy.
- Mix in olive oil, salt, and gradually add flour to form a smooth dough.
- Knead for about 8 minutes, then let the dough rise in a warm area until doubled in size (1–2 hours).
- Preheat the oven to 375°F (190°C).
- Roll out the dough and cut into shapes and letters; use food coloring or toppings for decoration.
- Place the shaped dough on a baking sheet and let them rest for 30 minutes.
- Bake for about 15–20 minutes until golden brown.
- Cool slightly before serving, and enjoy your delicious typographic creations!


