Embrace Bento Box Style
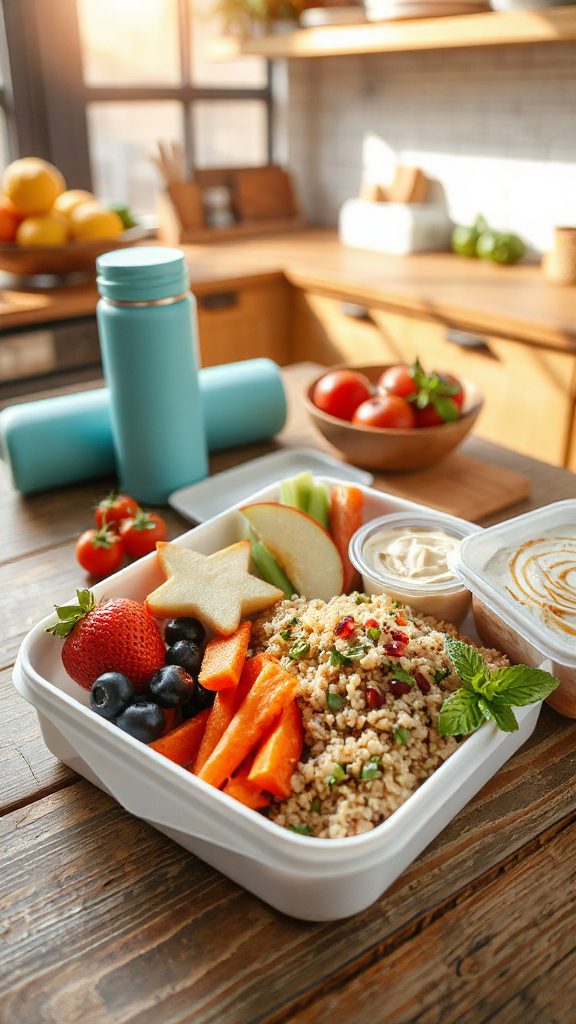
Bento Box Delights
Bento boxes are a fun and creative way to prepare a colorful and balanced lunch. This Japanese-inspired meal is all about variety and presentation, making it a perfect option for back-to-school lunches. You can fill your bento box with an array of items such as rice, proteins, vegetables, and fruits, all elegantly arranged to encourage kids to eat healthy while enjoying their meals.
| Ingredients | Quantity |
|---|---|
| Cooked rice | 1 cup |
| Chicken breast | 1 small (about 4 oz) |
| Soy sauce | 2 tablespoons |
| Broccoli | ½ cup |
| Carrot | 1 medium |
| Cherry tomatoes | 1/2 cup |
| Hard-boiled eggs | 2 |
| Sesame seeds | 1 tablespoon |
| Grapes or apple slices | ½ cup |
Cooking Steps:
- Cook the chicken breast in a skillet over medium heat until fully cooked, then slice into strips and drizzle with soy sauce.
- Steam the broccoli until tender, about 3-5 minutes.
- Julienne the carrot and lightly sauté it in a bit of olive oil until just tender, about 3 minutes.
- Place a scoop of cooked rice on one side of the bento box.
- Arrange the chicken slices, broccoli, sautéed carrots, and cherry tomatoes beautifully in the box.
- Add the hard-boiled eggs cut in half, sprinkle sesame seeds over everything, and fill any remaining space with grapes or apple slices for a sweet treat.
- Close the bento box and store it in the fridge until ready for school!
- The Original Pro Chopper - Our superstar veggie slicer has been creating waves on TikTok! Simple to use,...
- Easy Meal Prep with Rust-Resistant Blades - Our vegetable chopper is perfect for anyone who wants to eat...
- 5-Star Design - The soft-grip TPU handle ensures controlled chopping, while the non-skid rubber base...
Use Muffin Tins for Variety

Muffin tins are a fantastic way to create variety in lunchboxes, allowing you to mix and match different bite-sized goodies for kids to enjoy. These mini-meals can include a healthy selection of proteins, veggies, and whole grains, all conveniently baked in individual portions. The versatility of muffin tins makes them perfect for creating fun, nutritious lunch items that will keep lunchtime exciting.
| Ingredients | Quantity |
|---|---|
| Eggs | 6 large |
| Spinach | 1 cup (chopped) |
| Cherry tomatoes | 1 cup (halved) |
| Cooked bacon or sausage | ½ cup (chopped) |
| Shredded cheese | 1 cup |
| Whole-grain bread crumbs | ½ cup |
| Milk | ¼ cup |
| Salt | ½ teaspoon |
| Pepper | ¼ teaspoon |
Cooking Steps:
- Preheat the oven to 350°F (175°C) and grease a muffin tin.
- In a mixing bowl, whisk together the eggs, milk, salt, and pepper.
- Add in the chopped spinach, halved cherry tomatoes, cooked bacon or sausage, and shredded cheese; mix well.
- Sprinkle a bit of whole-grain bread crumbs at the bottom of each muffin tin cup.
- Pour the egg mixture evenly into each muffin tin cup until about three-quarters full.
- Bake for 20-25 minutes or until the eggs are fully set and lightly golden.
- Allow to cool slightly before removing from the tin, then store in lunchboxes or refrigerate for later use.
- Makes Everything Simple : Just forget your bagged cheese! Only turn the handle for several times and get...
- Premium Material : All parts of the rotary cheese grater are made of food grade ABS material, no BPA. The...
- Three Option Grater : The parmesan cheese grater finishes food preparation with slicing, shredding and...
Freeze Sandwiches Ahead of Time
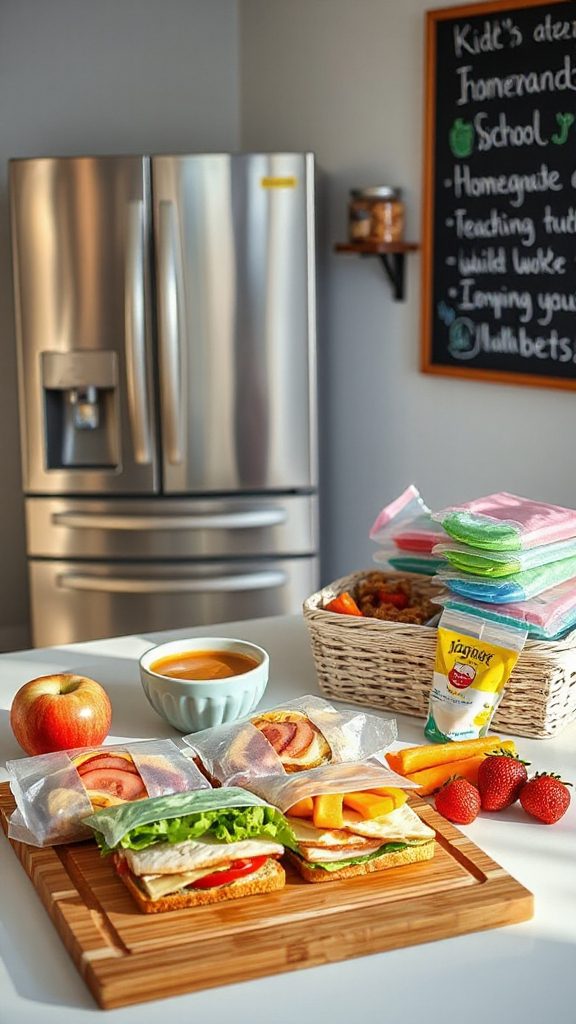
Freezing sandwiches ahead of time is a smart way to save time and guarantee your kids have a delicious and nutritious meal ready to go for school. By preparing sandwiches in bulk, you can mix and match different fillings, allowing for variety throughout the week. These frozen sandwiches can be pulled out the night before and will be perfectly thawed by lunchtime, providing a convenient solution for busy families.
| Ingredients | Quantity |
|---|---|
| Whole grain bread | 8 slices |
| Deli turkey or chicken | 8 ounces |
| Cheese (cheddar or Swiss) | 4 slices |
| Lettuce | 1 cup (washed and dried) |
| Tomato | 1 medium (sliced) |
| Mustard or mayonnaise | 4 tablespoons |
| Plastic wrap or sandwich bags | As needed |
Cooking Steps:
- Lay out four slices of whole grain bread on a clean surface.
- Spread mustard or mayonnaise on each slice of bread.
- Layer deli turkey or chicken, cheese, lettuce, and tomato on half of the slices.
- Top with the remaining bread slices to form sandwiches.
- Wrap each sandwich tightly in plastic wrap or place in a sandwich bag.
- Place wrapped sandwiches in a freezer-safe container and store in the freezer.
- To serve, remove from the freezer the night before and place in the refrigerator to thaw until ready to pack in the lunchbox.
- 💰 REDUCE WASTE AND SAVE MONEY: Chef Preserve keeps FOOD FRESH 5 TIMES LONGER than non-vacuum storage...
- ✅ POWERFUL, QUICK & EASY TO USE: Simply press the button to start. The device vacuum seals a bag in 5...
- ♻️ REUSABLE & RESEALABLE BAGS: Chef Preserve comes with dishwasher, freezer, refrigerator, and...
Pack Dip and Veggies Separately
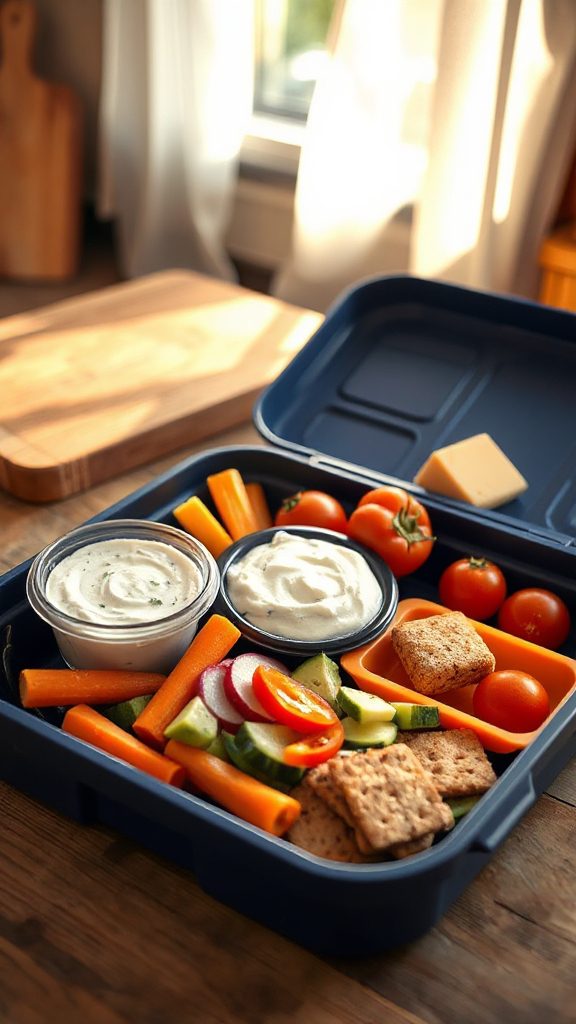
Packing dip and veggies separately is a fantastic way to guarantee your child enjoys a fresh and crunchy snack during lunch. This approach keeps the vegetables crisp and prevents them from becoming soggy. The following recipe is simple and encourages kids to eat healthy while having fun dipping their favorite veggies in a tasty homemade dip.
| Ingredients | Quantity |
|---|---|
| Hummus (store-bought or homemade) | 1 cup |
| Carrot sticks | 1 cup (about 3-4 carrots, cut into sticks) |
| Celery sticks | 1 cup (about 2-3 stalks, cut into sticks) |
| Cucumber slices | 1 cup (about 1 medium cucumber, sliced) |
| Bell pepper strips | 1 cup (about 1 bell pepper, sliced) |
Cooking Steps:
- If making homemade hummus, blend chickpeas, tahini, lemon juice, garlic, and olive oil until smooth. Adjust seasoning to taste and set aside.
- Prepare the vegetables by washing and cutting them into sticks or slices as listed.
- Portion the hummus into a small, airtight container or dip cup.
- Place the prepared vegetables in a separate container or compartment of the lunchbox.
- Pack the hummus with the veggies for a healthy, delicious lunch.
- Generous Capacity: 7-quart slow cooker that comfortably serves 9+ people or fits a 7-pound roast
- Cooking Flexibility: High or low slow cooking settings, with convenient warm function for ideal serving...
- Convenient: Set it and forget it feature enables you to cook while at work or performing daily tasks
Invest in Fun Shaped Cutters
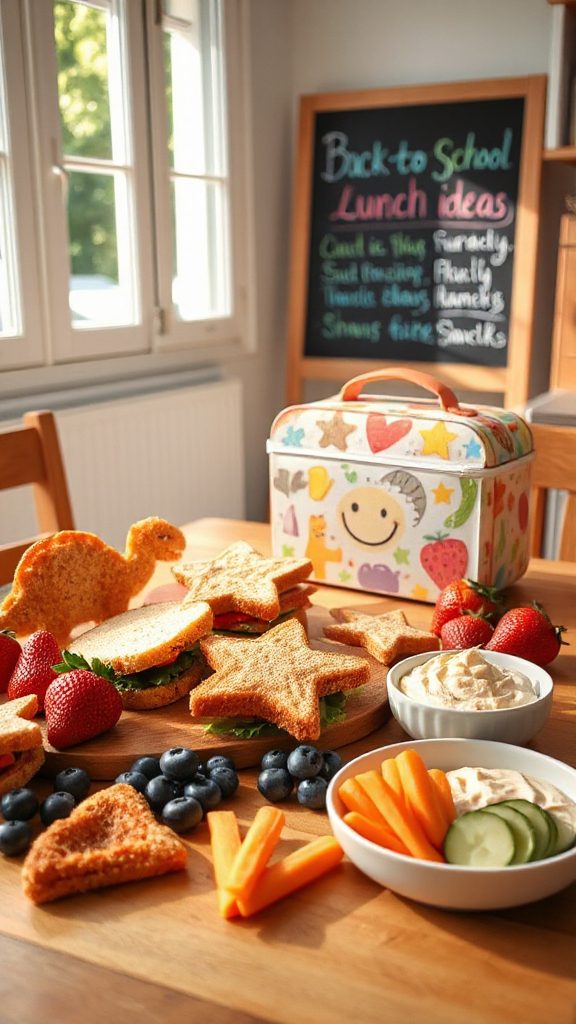
Investing in fun-shaped cutters is a creative way to make lunchtime more exciting for kids. These playful shapes not only enhance the visual appeal of sandwiches, fruits, and even cheese but also encourage children to engage with their meals more enthusiastically. Using cookie cutters in various fun shapes like stars, hearts, and animals, you can transform ordinary lunch ingredients into delightful bite-sized pieces that kids will love.
| Ingredients | Quantity |
|---|---|
| Whole grain bread | 4 slices |
| Turkey slices | 4 slices |
| Cheese (cheddar or mozzarella) | 4 slices |
| Lettuce leaves | 4 leaves |
| Sliced fruits (like strawberries or apples) | 1 cup (cut into fun shapes using cutters) |
| Optional spreads (like hummus or cream cheese) | 1/2 cup |
Cooking Steps:
- Using the fun-shaped cutters, cut the slices of bread into various shapes.
- Layer turkey slices and cheese onto half of the bread shapes, then top with lettuce leaves.
- Cover with the remaining bread shapes, forming sandwiches.
- Cut fruits into fun shapes using the cutters and pack them separately.
- Optionally, spread hummus or cream cheese on the outside of the sandwiches or use as a dip before packing everything into the lunchbox.
- 100% Leak-proof: Guaranteed no-spill seal and secure latches
- Crystal-clear Tritan Built: Stain-resistant and odor-resistant material for a clear view of contents
- Lightweight & Sturdy: Easy to carry, yet durable for everyday use
Create DIY Lunchables
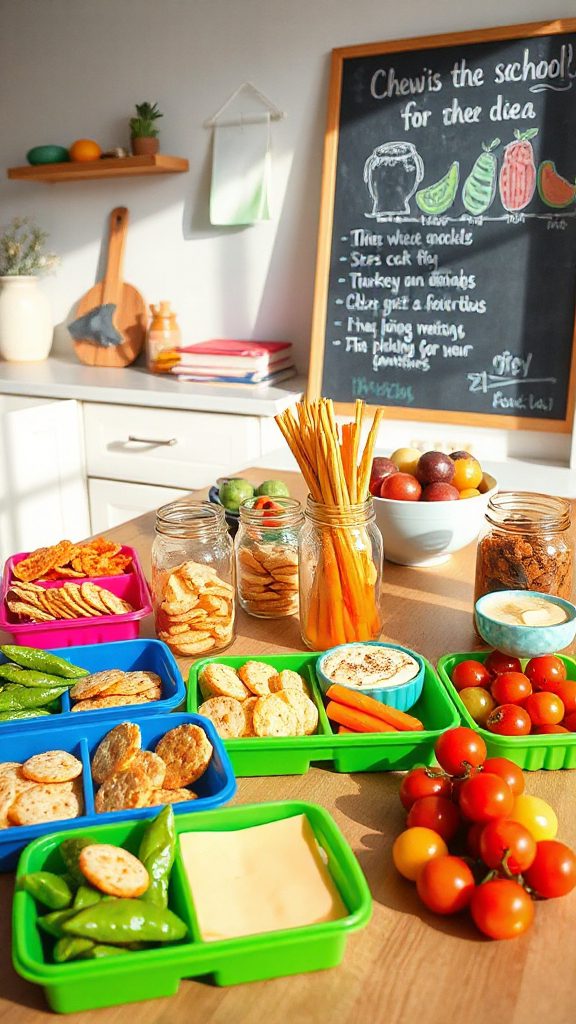
Creating DIY Lunchables is a fun and simple way to provide kids with a customizable and visually appealing lunch. This at-home version of the popular store-bought snack allows for healthier ingredient choices and endless combinations. With a variety of meats, cheeses, and crackers, kids are sure to have a delicious and interactive meal that they can assemble themselves.
| Ingredients | Quantity |
|---|---|
| Crackers (like wheat or saltines) | 1 cup |
| Deli meats (like ham, turkey, or salami) | 8 ounces (sliced) |
| Cheese (slices or cubes, any preferred variety) | 8 ounces |
| Sliced fruits (like grapes, strawberries, or apple slices) | 1 cup |
| Veggie sticks (like carrots or cucumber) | 1 cup |
| Optional: Hummus or ranch dip | 1/2 cup |
Cooking Steps:
- Start by arranging the crackers on one side of the lunchbox.
- Layer the deli meats and cheese next to the crackers.
- Add the sliced fruits and veggie sticks in the remaining sections of the lunchbox.
- If desired, include a small container of hummus or ranch dip for an extra treat.
- Cover the lunchbox and enjoy a quick, easy, and delicious DIY Lunchable!
- 𝗘𝗳𝗳𝗼𝗿𝘁𝗹𝗲𝘀𝘀 𝗪𝗲𝗶𝗴𝗵𝗶𝗻𝗴: Supports 5 units...
- 𝗣𝗿𝗲𝗰𝗶𝘀𝗲 𝗥𝗲𝘀𝘂𝗹𝘁𝘀: Accurately weighs up to 11 lb/5 kg with 1 g...
- 𝗦𝗶𝗺𝗽𝗹𝗲 & 𝗖𝗼𝗺𝗽𝗮𝗰𝘁: The small and sleek scale is a perfect fit for...
Introduce Themed Lunch Days
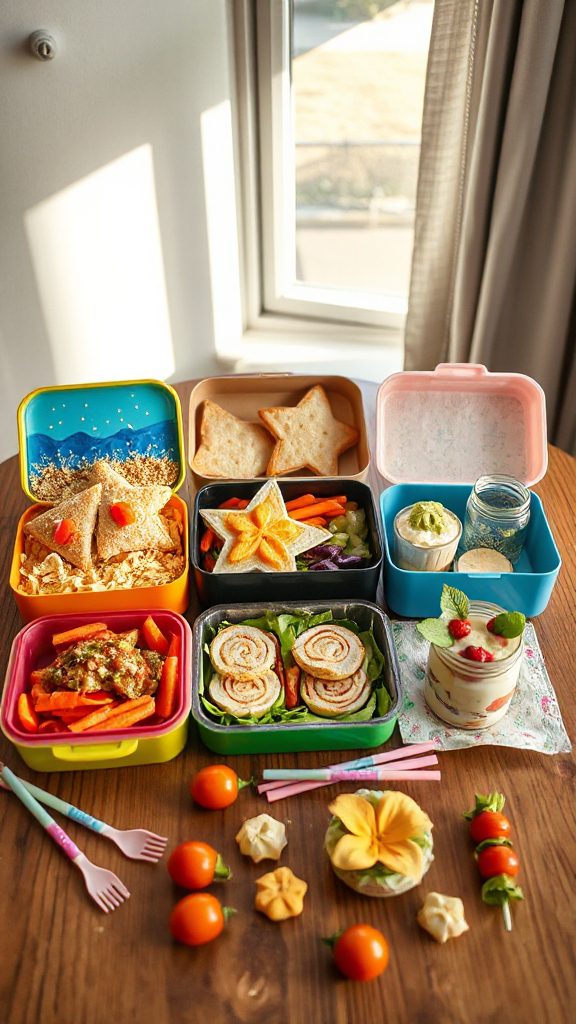
Introducing themed lunch days is a creative and engaging way to keep lunchtime exciting for kids. By designating specific themes for each day of the week, you can encourage kids to explore new tastes and cultures while enjoying their meals. Themes can include everything from “Taco Tuesday” to “Mediterranean Monday,” allowing children to anticipate and look forward to their unique lunch experiences.
| Ingredients | Quantity |
|---|---|
| Tortillas | 4 large |
| Ground beef or turkey (or plant-based protein) | 1 pound |
| Taco seasoning | 1 packet |
| Shredded lettuce | 2 cups |
| Diced tomatoes | 1 cup |
| Shredded cheese | 1 cup |
| Sour cream | 1/2 cup |
| Salsa | 1/2 cup |
| Optional: Avocado slices | 1 avocado |
Cooking Steps:
- In a skillet, cook the ground beef or turkey over medium heat until browned; drain excess fat.
- Add taco seasoning and water as directed on the packet; simmer for 5 minutes.
- Lay out the tortillas and fill each with seasoned meat, shredded lettuce, diced tomatoes, and cheese.
- Top with sour cream, salsa, and avocado slices if using.
- Wrap the tortillas and pack in the lunchbox for a fun and tasty themed lunch day!
- Instant Read Food Thermometer | Our instant read thermometer features a temperature probe and advanced,...
- Multi-Use | From bbq thermometer to baking thermometer, our digital food thermometer for cooking is...
- Easy-Read Digital Thermometer For Cooking | Large instant thermometer dial with bright blue backlight...
Utilize Reusable Pouches
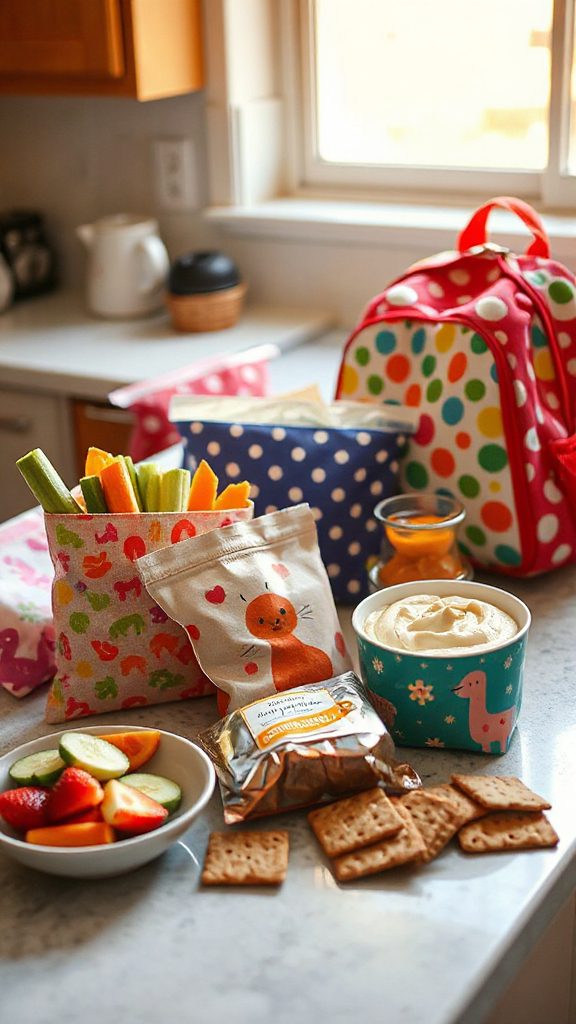
Using reusable pouches is a fantastic way to package homemade sauces, dips, or snacks for your child’s lunchbox while reducing waste. This recipe showcases a flavorful and nutritious hummus that can be stored in reusable pouches for easy dipping with veggies or pita chips.
| Ingredients | Quantity |
|---|---|
| Canned chickpeas | 2 cans (15 oz each) |
| Tahini | 1/2 cup |
| Olive oil | 1/4 cup |
| Lemon juice | 1/4 cup |
| Garlic | 2 cloves, minced |
| Ground cumin | 1 teaspoon |
| Salt | 1/2 teaspoon |
| Water | 2-4 tablespoons, as needed |
Cooking Steps:
- Drain and rinse the chickpeas under cold water.
- In a food processor, combine chickpeas, tahini, olive oil, lemon juice, minced garlic, cumin, and salt.
- Blend until smooth, adding water as needed to reach your desired consistency.
- Taste and adjust seasoning if necessary.
- Transfer the hummus into reusable pouches and store in the refrigerator until ready to pack in lunchboxes. Enjoy with fresh veggies or pita chips!
- Versatile 54-Piece Collection: Elevate your kitchen with the Home Hero 54-Piece Kitchen Utensil Set, a...
- Durable and Long-Lasting: Crafted from premium stainless steel, these kitchen utensils are designed to...
- Perfect Holiday Gift: Delight your loved ones with this kitchen utensils gift set this festive season....
Incorporate Leftover Night
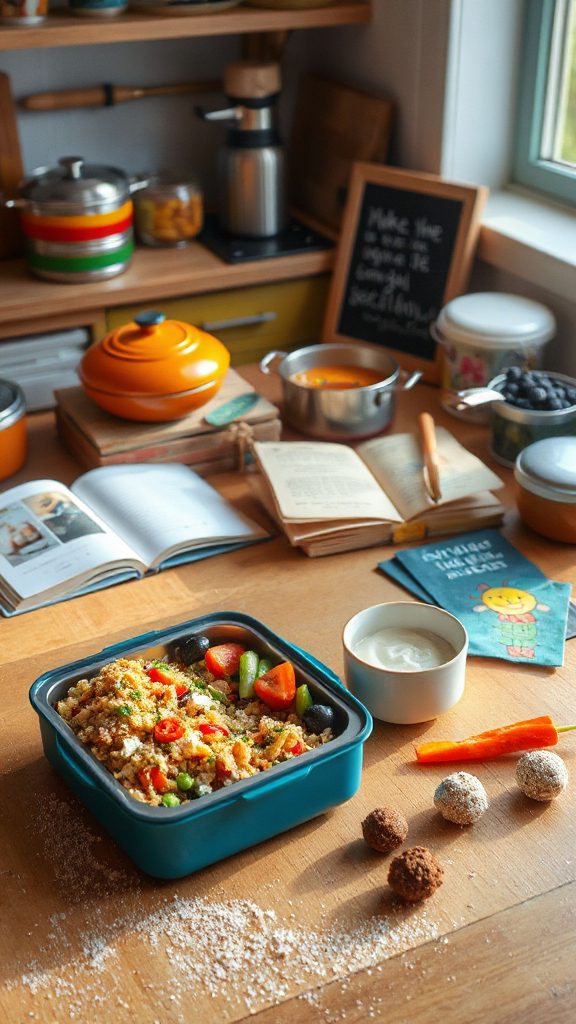
Incorporating leftover night into your weekly routine is an excellent way to minimize food waste and simplify meal prep for your child’s lunchbox. This dish utilizes various leftovers to create a delicious and nutritious stir-fry that can be packed easily for lunch the next day. It’s versatile, allowing you to use whatever proteins, vegetables, or grains you have on hand.
| Ingredients | Quantity |
|---|---|
| Cooked rice or quinoa | 3 cups |
| Cooked chicken, beef, or tofu | 2 cups |
| Mixed vegetables (e.g., bell peppers, broccoli, carrots) | 2 cups |
| Soy sauce | 1/4 cup |
| Olive oil | 2 tablespoons |
| Garlic | 2 cloves, minced |
| Ginger (optional) | 1 teaspoon, grated |
| Green onions (for garnish) | 2, sliced |
Cooking Steps:
- Heat olive oil in a large skillet or wok over medium-high heat.
- Add garlic (and ginger if using) and sauté for about 30 seconds until fragrant.
- Toss in the mixed vegetables and cook for about 4-5 minutes until they are tender but still crisp.
- Add the cooked protein and rice or quinoa to the skillet. Pour in soy sauce and stir everything together, cooking for another 2-3 minutes until heated through.
- Garnish with green onions before serving. Divide into portions for easy packing in lunchboxes for the week. Enjoy!
- 24-ounce insulated stainless-steel water bottle with a FreeSip spout and push-button lid with lock
- Patented FreeSip spout designed for either sipping upright through the built-in straw or tilting back to...
- Protective push-to-open lid keeps spout clean; convenient carry loop doubles as a lock
Make a Weekly Meal Plan
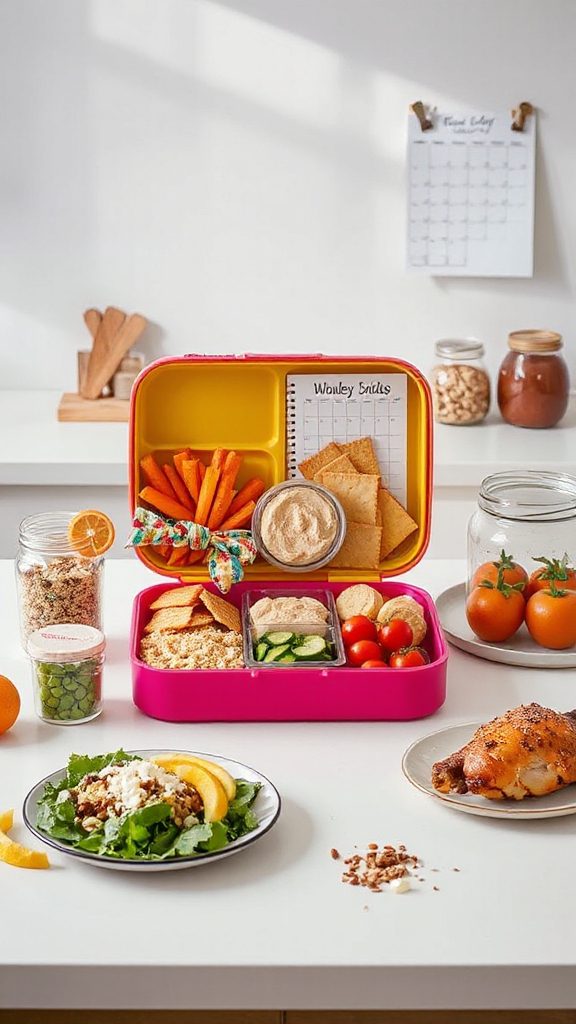
Creating a weekly meal plan is a fantastic way to guarantee you have healthy, balanced meals ready for the school week, including delicious lunches for your child’s lunchbox. One dish that fits perfectly into a meal plan is a flavorful taco bowl that can be customized and enjoyed throughout the week. This recipe allows you to batch cook ingredients and mix and match them for variety in lunches.
| Ingredients | Quantity |
|---|---|
| Cooked brown rice | 3 cups |
| Cooked black beans | 2 cups |
| Ground turkey or beef | 1 pound |
| Taco seasoning | 2 tablespoons |
| Diced tomatoes | 1 can (14.5 oz) |
| Corn | 1 cup |
| Shredded cheese | 1 cup |
| Avocado | 2, diced |
| Salsa | 1/2 cup |
| Fresh cilantro (for garnish) | 1/4 cup, chopped |
Cooking Steps:
- In a skillet, cook the ground turkey or beef over medium heat until browned; drain excess fat. Add taco seasoning and stir to combine.
- In a separate pot, warm the cooked brown rice, black beans, corn, and diced tomatoes until heated through.
- Create taco bowls by layering rice, black beans, seasoned meat, corn, and cheese in containers.
- Add diced avocado and salsa on top, and garnish with fresh cilantro.
- Store in the refrigerator until ready to pack for lunch. Enjoy throughout the week!
Get Kids Involved in Packing
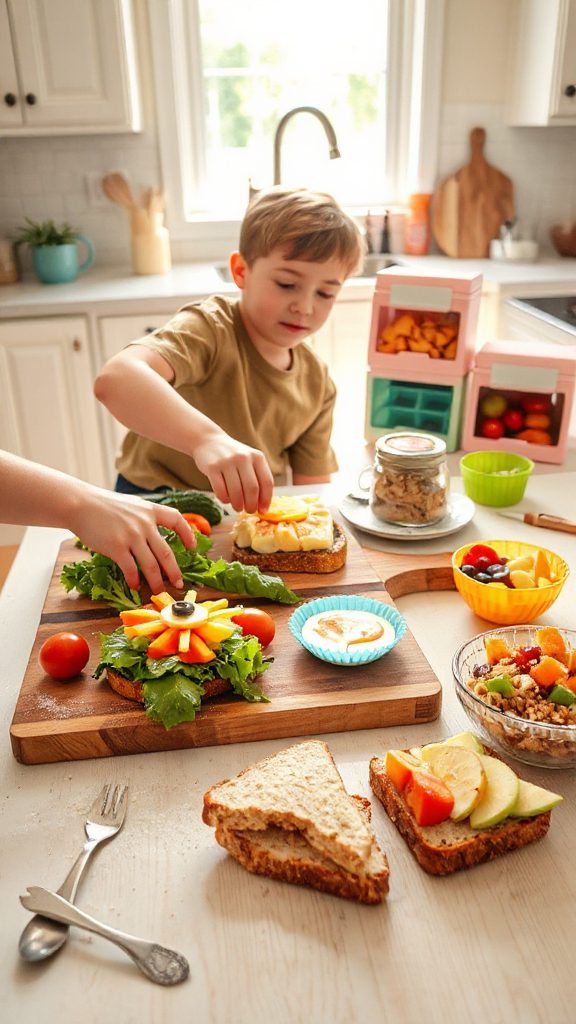
Involving your kids in the lunch-packing process can make meals more exciting and help them feel invested in their food choices. A great dish to engage them is the taco bowl, as it offers a fun way to customize their own lunches. Each child can choose their favorite toppings, making lunchtime a personalized experience they look forward to.
| Ingredients | Quantity |
|---|---|
| Cooked brown rice | 3 cups |
| Cooked black beans | 2 cups |
| Ground turkey or beef | 1 pound |
| Taco seasoning | 2 tablespoons |
| Diced tomatoes | 1 can (14.5 oz) |
| Corn | 1 cup |
| Shredded cheese | 1 cup |
| Avocado | 2, diced |
| Salsa | 1/2 cup |
| Fresh cilantro (for garnish) | 1/4 cup, chopped |
Cooking Steps:
- Cook the ground turkey or beef in a skillet over medium heat until browned, then stir in taco seasoning.
- In a separate pot, warm the cooked brown rice, black beans, corn, and diced tomatoes until heated through.
- Set up a taco bowl assembly line, allowing kids to layer their ingredients in containers.
- Finish with diced avocado, salsa, and a sprinkle of cilantro.
- Refrigerate until ready for lunches, and let the kids get creative with their combinations!


