Mini Fruit Pizzas
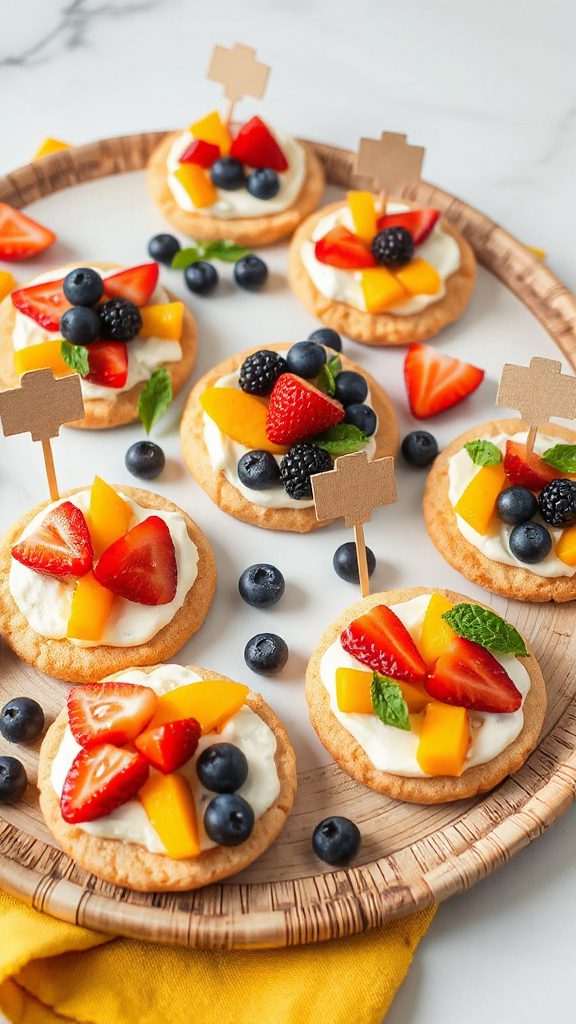
Mini fruit pizzas are a fun and colorful treat that’s perfect for back-to-school celebrations. These delightful desserts feature a sweet cookie base topped with cream cheese frosting and an assortment of fresh fruits. They’re visually appealing, easy to customize with your favorite fruits, and a hit with both kids and adults alike!
| Ingredients | Quantity |
|---|---|
| Sugar cookie dough | 1 tube (16 oz) |
| Cream cheese | 8 oz |
| Powdered sugar | 1 cup |
| Vanilla extract | 1 tsp |
| Fresh strawberries | 1 cup, sliced |
| Kiwi | 1, sliced |
| Blueberries | 1 cup |
| Mandarin oranges | 1 cup, segmented |
| Optional: mint leaves | For garnish |
Instructions:
- Preheat the oven to 350°F (175°C). Roll out the sugar cookie dough and cut into small circles or squares. Place them on a baking sheet and bake according to package instructions until golden.
- While the cookies cool, beat together the cream cheese, powdered sugar, and vanilla extract until smooth.
- Spread a layer of the cream cheese mixture on each cooled cookie base.
- Decorate each mini pizza with an assortment of sliced fruits.
- Optional: Garnish with fresh mint leaves and serve. Enjoy your delicious mini fruit pizzas!
- The Original Pro Chopper - Our superstar veggie slicer has been creating waves on TikTok! Simple to use,...
- Easy Meal Prep with Rust-Resistant Blades - Our vegetable chopper is perfect for anyone who wants to eat...
- 5-Star Design - The soft-grip TPU handle ensures controlled chopping, while the non-skid rubber base...
Cheesy School Bus Crackers

Cheesy School Bus Crackers are an adorable and tasty snack that will delight kids and adults alike! These fun-shaped cheese crackers are not only perfect for back-to-school lunches but also make a great treat for after school or parties. With just a few simple ingredients, you can create a batch of these creative snacks shaped like little school buses, bringing a smile to everyone’s face.
| Ingredients | Quantity |
|---|---|
| Sharp cheddar cheese | 1 cup, shredded |
| All-purpose flour | 1 cup |
| Unsalted butter | ½ cup (1 stick) |
| Salt | ½ tsp |
| Garlic powder | ½ tsp |
| Water | 2-3 tbsp |
| Optional: food coloring | For coloring |
Instructions:
- In a large bowl, mix together the shredded cheddar cheese, flour, softened butter, salt, and garlic powder until well combined.
- Gradually add water, starting with 2 tablespoons, mixing until a soft dough forms. If needed, add more water to achieve the right consistency.
- If desired, divide the dough and mix in a few drops of food coloring to create different colored buses.
- Roll out the dough to about ¼ inch thick. Use a school bus-shaped cookie cutter to cut out shapes. Place on a baking sheet lined with parchment paper.
- Preheat the oven to 350°F (175°C) and bake the crackers for 10-12 minutes or until they are golden and crispy.
- Allow to cool before serving and enjoy your Cheesy School Bus Crackers!
- Makes Everything Simple : Just forget your bagged cheese! Only turn the handle for several times and get...
- Premium Material : All parts of the rotary cheese grater are made of food grade ABS material, no BPA. The...
- Three Option Grater : The parmesan cheese grater finishes food preparation with slicing, shredding and...
Colorful Fruit Skewers
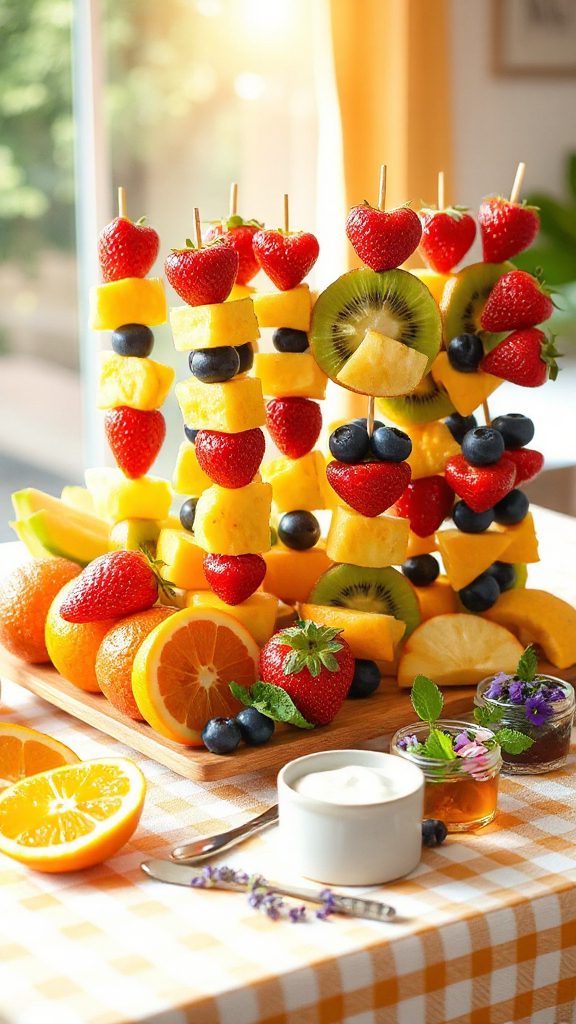
Colorful Fruit Skewers are a fun, healthy, and visually appealing snack that kids love! These vibrant skewers are easy to assemble and can be customized with your choice of fresh fruits, making them perfect for lunchboxes, after-school snacks, or parties. They offer a great way to encourage children to eat more fruit in a playful way!
| Ingredients | Quantity |
|---|---|
| Strawberries | 1 cup |
| Pineapple chunks | 1 cup |
| Grapes | 1 cup |
| Kiwi | 2, peeled and sliced |
| Banana | 1, sliced |
| Wooden skewers | As needed |
Instructions:
- Prepare the fruits by washing and cutting them into bite-sized pieces.
- Take a wooden skewer and thread the fruit pieces onto it, alternating between different fruits for a colorful presentation.
- Continue adding fruit pieces until the skewer is filled, leaving space at each end for easy handling.
- Repeat with the remaining skewers and fruit until all ingredients are used up.
- Serve immediately or refrigerate until ready to enjoy your Colorful Fruit Skewers!
- 💰 REDUCE WASTE AND SAVE MONEY: Chef Preserve keeps FOOD FRESH 5 TIMES LONGER than non-vacuum storage...
- ✅ POWERFUL, QUICK & EASY TO USE: Simply press the button to start. The device vacuum seals a bag in 5...
- ♻️ REUSABLE & RESEALABLE BAGS: Chef Preserve comes with dishwasher, freezer, refrigerator, and...
Apple Slices With Nut Butter
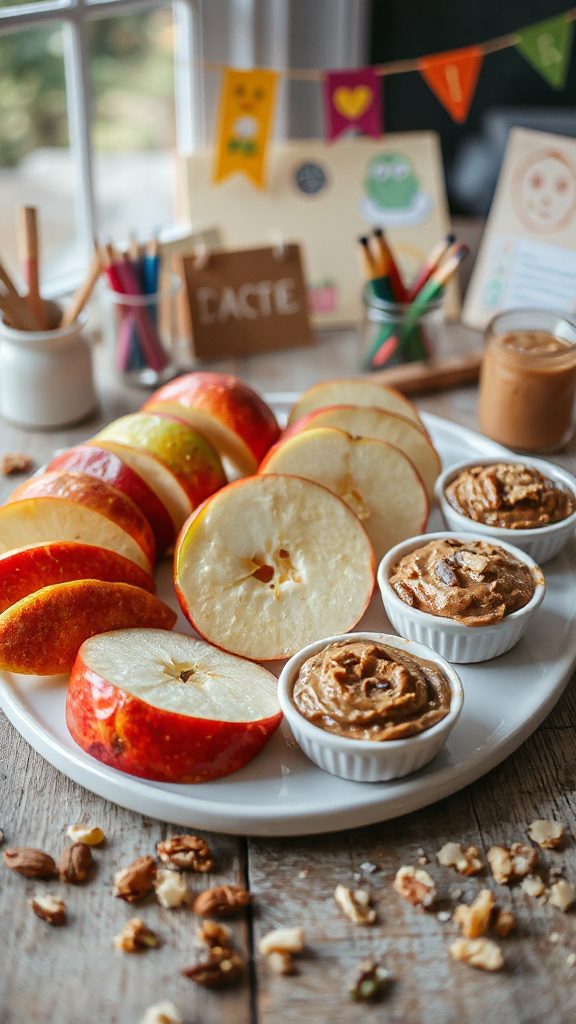
Apple Slices with Nut Butter are a nutritious and satisfying snack that combines the crispness of fresh apples with the rich creaminess of your favorite nut butter. This simple dish is not only easy to prepare but also offers a delightful balance of flavors and textures, making it an excellent choice for after-school treats or lunchbox additions.
| Ingredients | Quantity |
|---|---|
| Apples | 2, sliced |
| Nut butter (peanut, almond, or sunflower) | 1/2 cup |
| Cinnamon (optional) | To taste |
| Honey or maple syrup (optional) | Drizzle for sweetness |
Instructions:
- Wash the apples and slice them into thin wedges, removing the core.
- Spread a generous amount of nut butter on each apple slice.
- If desired, sprinkle a pinch of cinnamon on top or drizzle with honey or maple syrup for added sweetness.
- Arrange the apple slices on a plate and serve immediately, or pack them in lunchboxes for later enjoyment.
- Generous Capacity: 7-quart slow cooker that comfortably serves 9+ people or fits a 7-pound roast
- Cooking Flexibility: High or low slow cooking settings, with convenient warm function for ideal serving...
- Convenient: Set it and forget it feature enables you to cook while at work or performing daily tasks
Cookie Monster Cupcakes
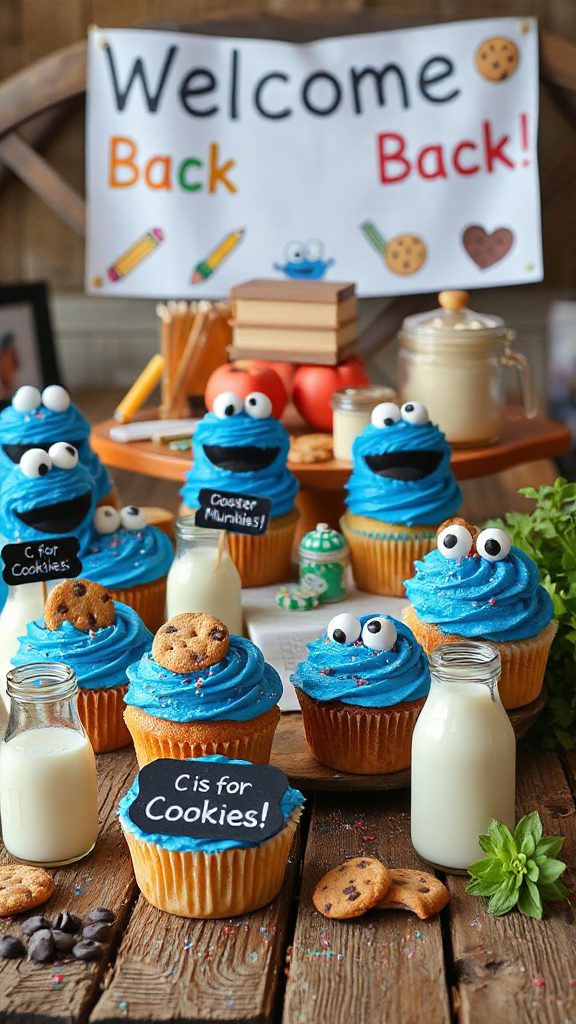
Cookie Monster Cupcakes are a playful and delicious treat, perfect for any school occasion or celebration. These whimsical cupcakes are inspired by the beloved character from Sesame Street, featuring blue frosting and cookie crumbles that mimic Cookie Monster’s furry appearance. They’re sure to delight kids and adults alike, making them a fantastic addition to your back-to-school treats.
| Ingredients | Quantity |
|---|---|
| All-purpose flour | 1 ½ cups |
| Baking powder | 1 tsp |
| Salt | ½ tsp |
| Unsalted butter | ½ cup |
| Granulated sugar | 1 cup |
| Eggs | 2 large |
| Vanilla extract | 2 tsp |
| Milk | ½ cup |
| Blue food coloring | 1-2 tbsp |
| Cream cheese frosting | 1 cup |
| Chocolate chip cookies | 1 cup, chopped |
| Additional cookies | For topping |
Instructions:
- Preheat the oven to 350°F (175°C) and line a muffin tin with cupcake liners.
- In a bowl, mix flour, baking powder, and salt; set aside.
- In a large bowl, cream together butter and sugar until light and fluffy. Add eggs and vanilla, mixing well.
- Gradually mix in the dry ingredients alternately with milk until combined. Stir in blue food coloring until the desired color is achieved.
- Divide the batter evenly among the cupcake liners and bake for 20-25 minutes, or until a toothpick comes out clean.
- Allow cupcakes to cool completely, then top with cream cheese frosting and sprinkle with cookie crumbles. Add extra cookies for a fun finishing touch.
- 100% Leak-proof: Guaranteed no-spill seal and secure latches
- Crystal-clear Tritan Built: Stain-resistant and odor-resistant material for a clear view of contents
- Lightweight & Sturdy: Easy to carry, yet durable for everyday use
Popcorn in School Colors
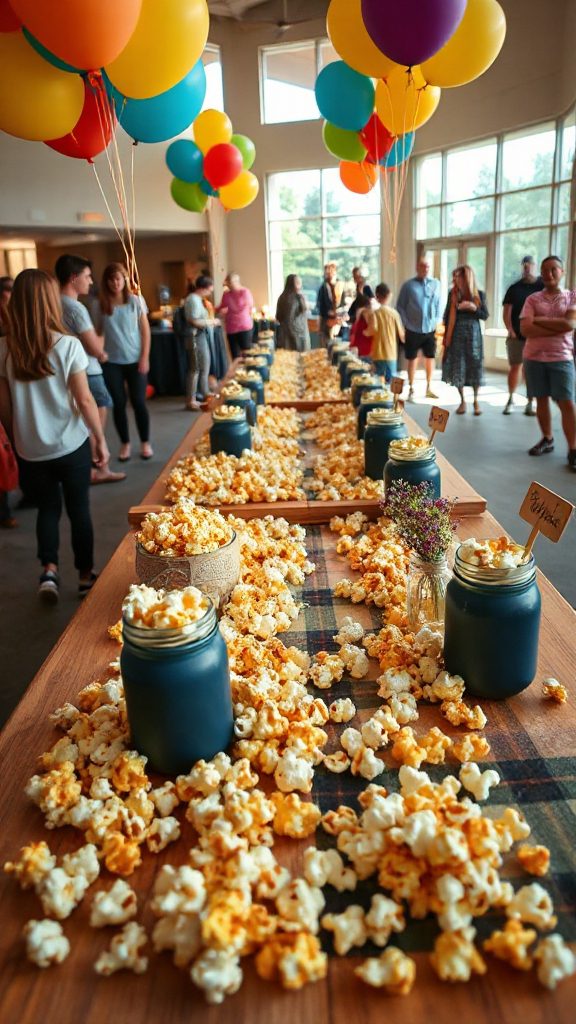
Popcorn in School Colors is a fun, customizable snack that celebrates school spirit and adds a festive touch to any back-to-school gathering. This colorful treat allows you to use your school’s colors to make popcorn that not only tastes great but also looks fantastic. Kids will love munching on this crispy, colorful snack while chatting with friends, making it a perfect addition to lunchboxes or snack time.
| Ingredients | Quantity |
|---|---|
| Popcorn kernels | ½ cup (popped) |
| Butter | 4 tbsp |
| White chocolate melts | 1 cup |
| Food coloring | As needed |
| Sea salt (optional) | To taste |
| Sprinkles (optional) | ½ cup |
Instructions:
- Pop the popcorn kernels according to package instructions and place the popcorn in a large bowl.
- Melt the butter in a small saucepan and drizzle over the popcorn, tossing to coat.
- Melt the white chocolate in a microwave-safe bowl, adding food coloring to achieve your desired school colors.
- Pour the colored chocolate over the popcorn and mix until evenly coated.
- Spread the popcorn on a baking sheet lined with parchment paper to cool, and optionally sprinkle with sea salt and festive sprinkles.
- Once cooled, break into pieces and serve in individual bags or bowls for a fun snack!
- 𝗘𝗳𝗳𝗼𝗿𝘁𝗹𝗲𝘀𝘀 𝗪𝗲𝗶𝗴𝗵𝗶𝗻𝗴: Supports 5 units...
- 𝗣𝗿𝗲𝗰𝗶𝘀𝗲 𝗥𝗲𝘀𝘂𝗹𝘁𝘀: Accurately weighs up to 11 lb/5 kg with 1 g...
- 𝗦𝗶𝗺𝗽𝗹𝗲 & 𝗖𝗼𝗺𝗽𝗮𝗰𝘁: The small and sleek scale is a perfect fit for...
DIY Trail Mix Station
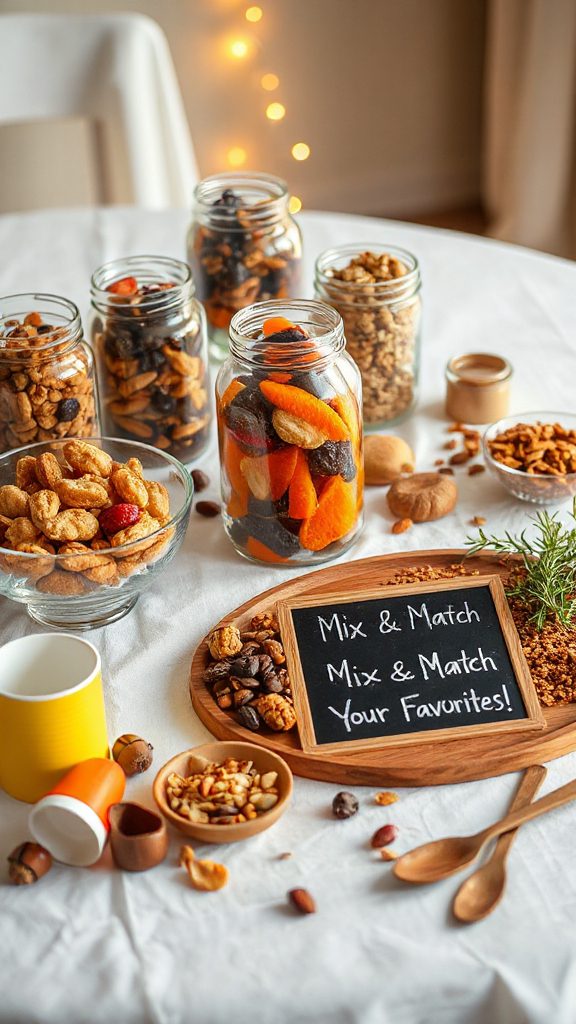
DIY Trail Mix Station is a fun and interactive way to create personalized snacks for back-to-school munching. It allows kids and parents to mix and match their favorite nuts, dried fruits, seeds, and sweets, resulting in a custom blend that caters to individual tastes. Setting up a DIY Trail Mix Station can be an exciting activity that encourages creativity, teamwork, and healthy snacking habits.
| Ingredients | Quantity |
|---|---|
| Assorted nuts (almonds, cashews, walnuts) | 2 cups |
| Dried fruits (raisins, cranberries, apricots) | 2 cups |
| Seeds (pumpkin seeds, sunflower seeds) | 1 cup |
| Chocolate chips or candies | 1 cup |
| Granola | 1 cup |
| Pretzel pieces | 1 cup |
Instructions:
- Prepare a clean, spacious area to set up the station with bowls or containers for each ingredient.
- Pour the assorted nuts, dried fruits, seeds, chocolate chips, granola, and pretzel pieces into separate bowls.
- Provide small bags or cups for participants to fill with their chosen ingredients, encouraging them to mix and create their own unique trail mix combinations.
- Once everyone has created their trail mix, seal the bags or cups, and enjoy a delicious, custom snack that’s perfect for school or on-the-go!
- Instant Read Food Thermometer | Our instant read thermometer features a temperature probe and advanced,...
- Multi-Use | From bbq thermometer to baking thermometer, our digital food thermometer for cooking is...
- Easy-Read Digital Thermometer For Cooking | Large instant thermometer dial with bright blue backlight...
Back-to-School Brownies
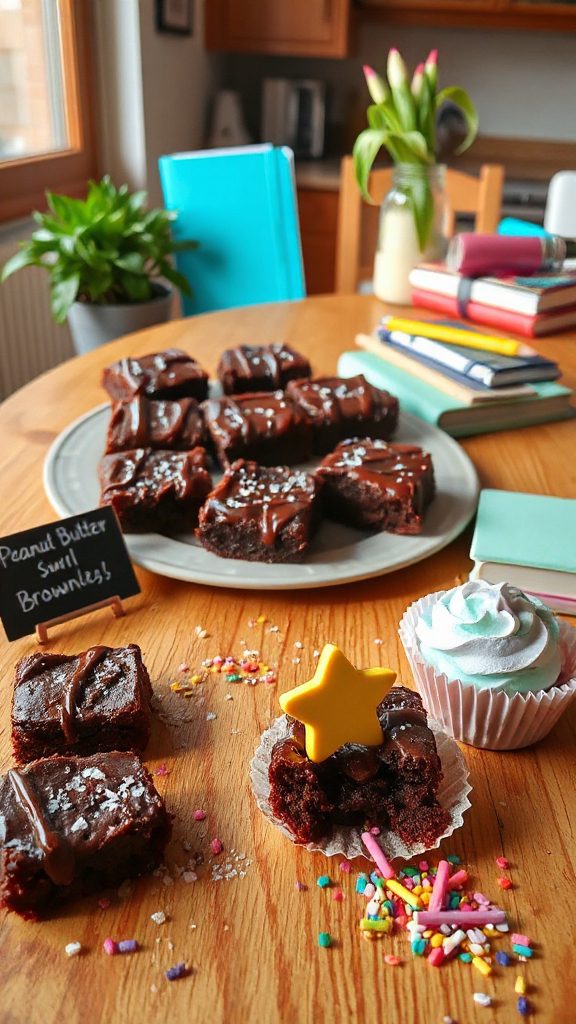
Back-to-School Brownies are a delicious treat that can bring a touch of joy to any lunchbox. These fudgy, chocolatey delights are perfect for kids (and adults!) looking for a sweet snack after school or during lunchtime. They are easy to make in large batches and can be customized with add-ins like nuts or chocolate chips for added flair.
| Ingredients | Quantity |
|---|---|
| Unsalted butter | 1/2 cup |
| Granulated sugar | 1 cup |
| Brown sugar | 1/2 cup |
| Large eggs | 2 |
| Vanilla extract | 1 teaspoon |
| All-purpose flour | 1/2 cup |
| Unsweetened cocoa powder | 1/3 cup |
| Baking powder | 1/4 teaspoon |
| Salt | 1/4 teaspoon |
| Chocolate chips (optional) | 1/2 cup |
Instructions:
- Preheat the oven to 350°F (175°C) and grease an 8×8 inch baking pan or line it with parchment paper.
- In a medium saucepan, melt the unsalted butter over low heat. Once melted, remove from heat and stir in granulated sugar, brown sugar, and vanilla extract.
- Add eggs one at a time, mixing well after each addition.
- In a separate bowl, whisk together flour, cocoa powder, baking powder, and salt. Gradually mix the dry ingredients into the wet mixture until just combined. Fold in chocolate chips if using.
- Pour the batter into the prepared baking pan and smooth the top with a spatula.
- Bake for 20-25 minutes or until a toothpick inserted into the center comes out with a few moist crumbs.
- Allow the brownies to cool in the pan before cutting into squares and serving. Enjoy!
- Versatile 54-Piece Collection: Elevate your kitchen with the Home Hero 54-Piece Kitchen Utensil Set, a...
- Durable and Long-Lasting: Crafted from premium stainless steel, these kitchen utensils are designed to...
- Perfect Holiday Gift: Delight your loved ones with this kitchen utensils gift set this festive season....
Sandwich Cut-Outs
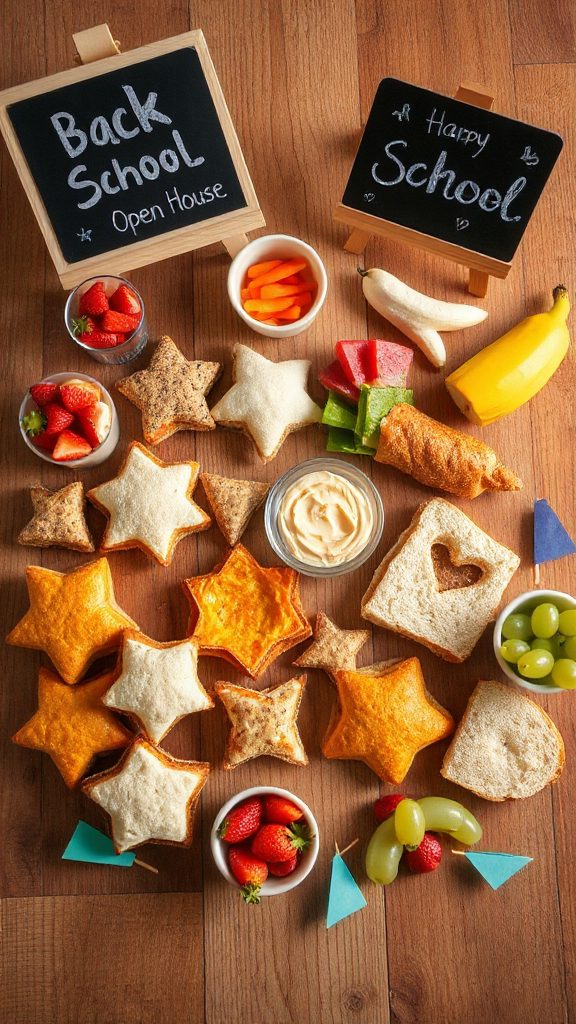
Sandwich Cut-Outs are a fun and creative way to elevate your child’s lunch from ordinary to extraordinary. These playful sandwiches can be made with various fillings and can be cut into fun shapes using cookie cutters, making them visually appealing and exciting for kids to eat. Perfect for back-to-school lunches, they can be customized to cater to your child’s favorite flavors!
| Ingredients | Quantity |
|---|---|
| Bread (whole wheat or white) | 4 slices |
| Deli meats (ham, turkey, etc.) | 4 slices |
| Cheese (sliced or shredded) | 2 slices |
| Lettuce | A few leaves |
| Mayonnaise or mustard | 2 tablespoons |
| Cookie cutters (various shapes) | – |
Instructions:
- Lay out the slices of bread on a clean surface.
- Spread a layer of mayonnaise or mustard on half of the bread slices.
- Layer the deli meats, cheese, and lettuce on the slices with the spread.
- Top with the remaining slices of bread to form sandwiches.
- Use cookie cutters to cut out fun shapes from each sandwich.
- Arrange the cut-out sandwiches on a plate, and pack them into lunchboxes with a little note for a sweet touch. Enjoy!
- 24-ounce insulated stainless-steel water bottle with a FreeSip spout and push-button lid with lock
- Patented FreeSip spout designed for either sipping upright through the built-in straw or tilting back to...
- Protective push-to-open lid keeps spout clean; convenient carry loop doubles as a lock
Yogurt Parfait Cups
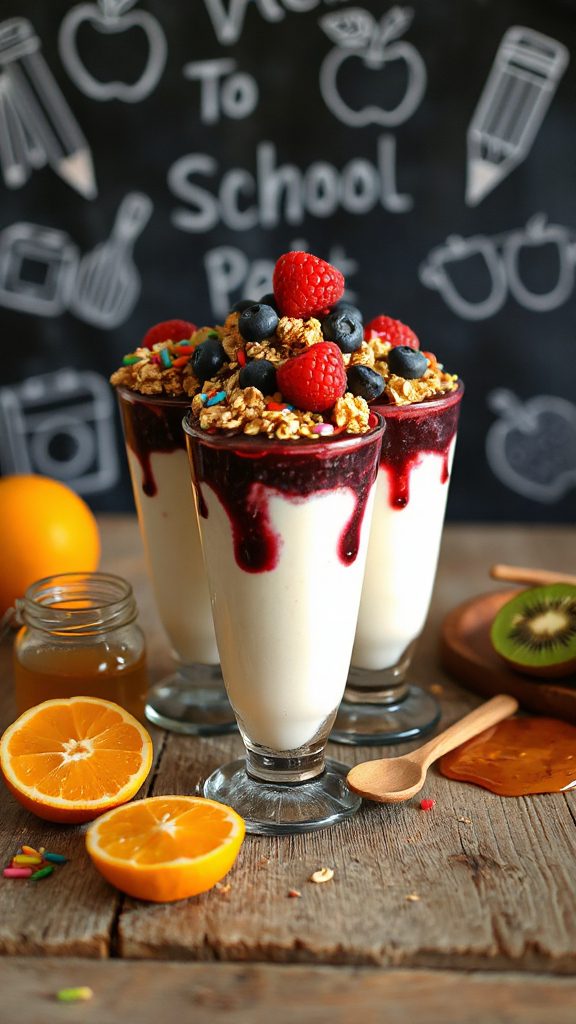
Yogurt Parfait Cups are a delicious and nutritious way to start the school day or serve as a delightful snack. These layered treats combine creamy yogurt, fresh fruits, and crunchy granola, making them not only visually appealing but also satisfying. Easy to prepare in advance, they can be made in individual cups for convenience, ensuring your little ones have a tasty and healthy option for their lunch boxes.
| Ingredients | Quantity |
|---|---|
| Yogurt (Greek or regular) | 2 cups |
| Fresh fruits (berries, banana, etc.) | 2 cups |
| Granola | 1 cup |
| Honey or maple syrup (optional) | 2 tablespoons |
Instructions:
- In a clear cup or jar, spoon in a layer of yogurt until the bottom is covered.
- Add a layer of your choice of fresh fruits on top of the yogurt.
- Sprinkle a layer of granola over the fruits for added crunch.
- Repeat the layers until the cup is filled, finishing with a layer of yogurt and a few pieces of fruit on top.
- Drizzle with honey or maple syrup if desired, and cover with a lid for easy transport. Enjoy your yogurt parfaits!
Cake Pop Push Pops
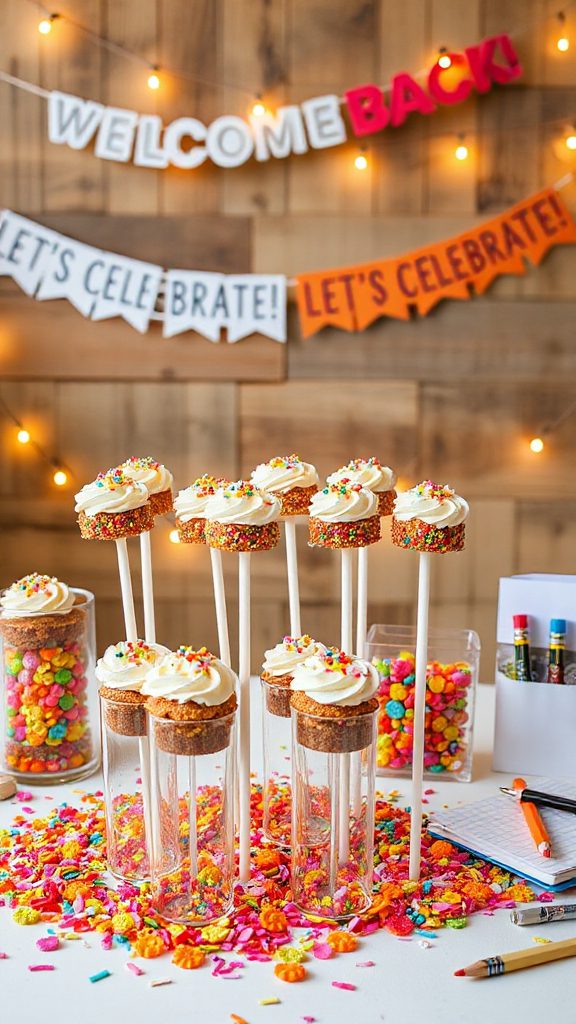
Cake Pop Push Pops are a fun and interactive dessert that kids will love. These portable treats combine the delightful flavors of cake pops with a push-up pop container, making them perfect for school treats or birthday parties. Easy to assemble, these vibrant pops can be customized with various cake flavors and toppings, allowing for creativity and personalization.
| Ingredients | Quantity |
|---|---|
| Cake (any flavor, baked and crumbled) | 2 cups |
| Frosting (matching flavor) | 1 cup |
| Candy melts (for coating) | 1 cup |
| Push pop containers | 8 |
| Sprinkles or toppings (optional) | For decorating |
Instructions:
- In a bowl, mix the crumbled cake with the frosting until fully combined.
- Take small portions of the cake mixture and press them firmly into the bottom of the push pop containers.
- Melt the candy melts according to package instructions, then drizzle a thin layer over the pressed cake in the container.
- Add another layer of the cake mixture on top, pressing down gently, and repeat until the container is filled.
- Once filled, top with melted candy, adding sprinkles or other toppings if desired.
- Insert the push pop stick, cover with a lid, and refrigerate until set. Enjoy your Cake Pop Push Pops!


