Colorful Veggie Stick Cups
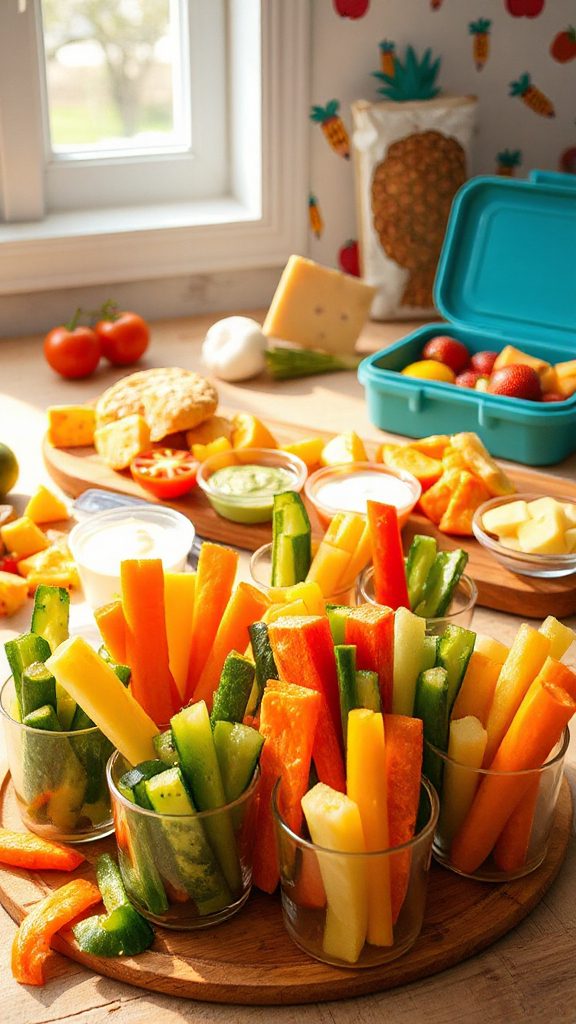
Colorful Veggie Stick Cups are a fun and healthy snack perfect for kids heading back to school. These vibrant cups are filled with an assortment of crunchy vegetable sticks, bringing both nutrition and excitement to lunches. Paired with a delicious dip, they make for an ideal bento snack that kids will love.
| Ingredients | Quantity |
|---|---|
| Carrot | 2 medium |
| Cucumber | 1 large |
| Bell peppers | 1 each red, yellow, and green |
| Celery | 2 stalks |
| Hummus or ranch dip | 1 cup |
| Lemon juice (optional) | 1 tablespoon |
| Salt (optional) | To taste |
Cooking Instructions:
- Wash all veggies thoroughly and peel the carrot and cucumber if desired.
- Cut the carrots, cucumber, bell peppers, and celery into uniform sticks, approximately 3-4 inches long.
- Arrange the veggie sticks in small cups or containers, standing them upright for a colorful display.
- Fill an individual section of each cup with hummus or ranch dip.
- Optional: Drizzle lemon juice over the veggies for added flavor and sprinkle with salt if desired.
- Cover and refrigerate until ready to pack into lunch boxes for a revitalizing snack.
- The Original Pro Chopper - Our superstar veggie slicer has been creating waves on TikTok! Simple to use,...
- Easy Meal Prep with Rust-Resistant Blades - Our vegetable chopper is perfect for anyone who wants to eat...
- 5-Star Design - The soft-grip TPU handle ensures controlled chopping, while the non-skid rubber base...
Mini Pita Pockets
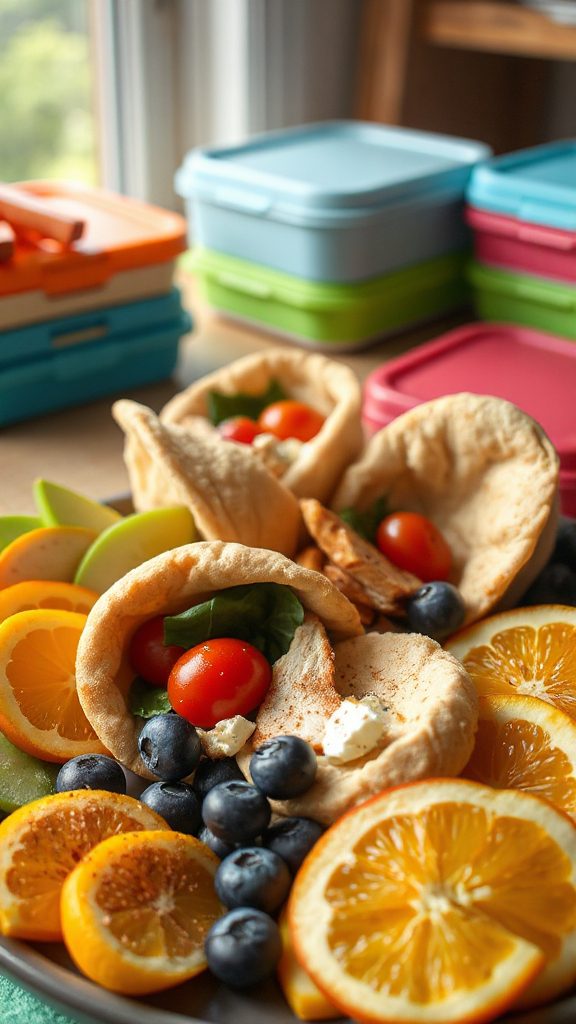
Mini Pita Pockets are a delightful and versatile snack that kids will love in their lunchboxes. These bite-sized pockets are filled with healthy ingredients such as lean protein, fresh vegetables, and delicious spreads, making them a fun and nutritious option for school lunches. Plus, they are easy for little hands to hold, which adds to the appeal.
| Ingredients | Quantity |
|---|---|
| Mini whole wheat pita bread | 4 pieces |
| Cooked chicken breast (shredded) | 1 cup |
| Cucumber (diced) | ½ cup |
| Cherry tomatoes (halved) | ½ cup |
| Lettuce leaves | 1 cup |
| Hummus or tzatziki | ½ cup |
| Feta cheese (crumbled, optional) | ½ cup |
| Olive oil | 1 tablespoon |
| Salt and pepper | To taste |
Cooking Instructions:
- Slice the mini pita breads in half to create pockets.
- In a bowl, combine cooked chicken breast, cucumber, cherry tomatoes, olive oil, and salt and pepper to taste.
- Spread a layer of hummus or tzatziki inside each pita pocket.
- Stuff each pocket with the chicken and vegetable mixture, along with lettuce leaves and crumbled feta cheese if using.
- Serve immediately or wrap in plastic wrap for a convenient school snack.
- Makes Everything Simple : Just forget your bagged cheese! Only turn the handle for several times and get...
- Premium Material : All parts of the rotary cheese grater are made of food grade ABS material, no BPA. The...
- Three Option Grater : The parmesan cheese grater finishes food preparation with slicing, shredding and...
DIY Sushi Rolls
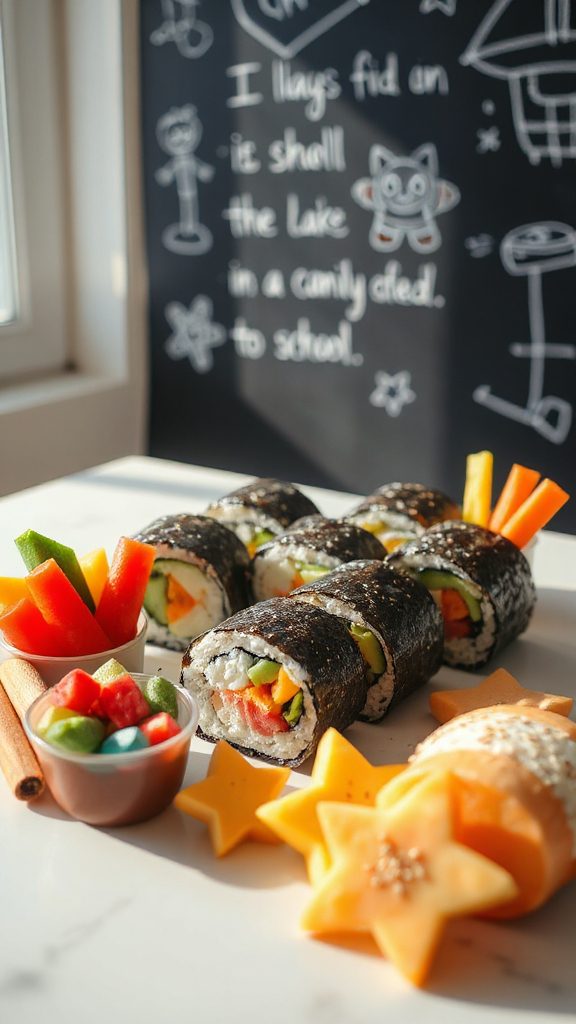
DIY Sushi Rolls are a fun and interactive snack that kids can enjoy making as much as eating. These rolls allow children to explore different ingredients and flavors while providing a healthy option that is also visually appealing. Perfect for lunchboxes or after-school snacks, DIY Sushi Rolls can be customized with a variety of fillings, making them a versatile choice for picky eaters.
| Ingredients | Quantity |
|---|---|
| Sushi rice | 1 cup |
| Rice vinegar | 2 tablespoons |
| Nori sheets | 4 pieces |
| Cucumber (julienned) | ½ cup |
| Carrot (julienned) | ½ cup |
| Avocado (sliced) | 1 whole |
| Cooked shrimp or crab meat | ½ cup |
| Soy sauce | For dipping |
| Sesame seeds (optional) | For garnish |
Instructions:
- Cook sushi rice according to package instructions and mix with rice vinegar once cooked.
- Place a bamboo sushi mat on a clean surface and lay one nori sheet shiny side down.
- Spread a thin layer of sushi rice over the nori, leaving a small border at the top.
- Arrange the cucumber, carrot, avocado, and shrimp or crab meat in a line along the bottom edge of the rice-covered nori.
- Using the mat, carefully roll the nori tightly from bottom to top, pressing gently as you go to ascertain it sticks together.
- Slice the roll into bite-sized pieces, sprinkle with sesame seeds if desired, and serve with soy sauce for dipping. Enjoy!
- 💰 REDUCE WASTE AND SAVE MONEY: Chef Preserve keeps FOOD FRESH 5 TIMES LONGER than non-vacuum storage...
- ✅ POWERFUL, QUICK & EASY TO USE: Simply press the button to start. The device vacuum seals a bag in 5...
- ♻️ REUSABLE & RESEALABLE BAGS: Chef Preserve comes with dishwasher, freezer, refrigerator, and...
Fruit Kabobs
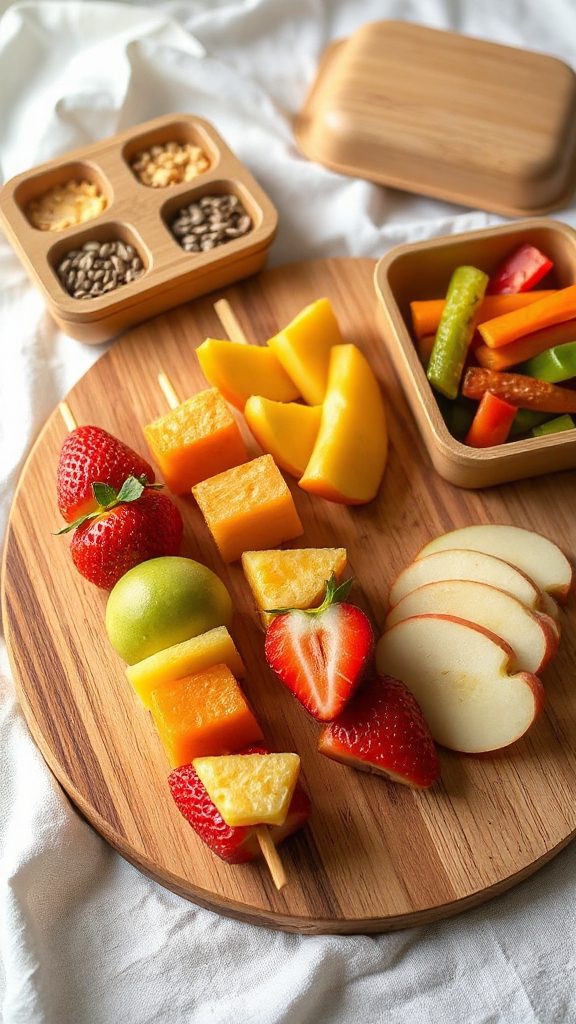
Fruit Kabobs are a fun and colorful snack that kids will love to help make and eat. These delightful skewers are not only visually appealing but also offer a nutritious option packed with vitamins and minerals. You can mix and match different fruits based on seasonal availability or personal preferences. They are perfect for lunchboxes, after-school snacks, or even as a healthy dessert option!
| Ingredients | Quantity |
|---|---|
| Strawberries | 1 cup |
| Pineapple chunks | 1 cup |
| Grapes | 1 cup |
| Melon (cantaloupe or honeydew) | 1 cup |
| Banana | 1 whole |
| Skewers | 10-12 sticks |
Instructions:
- Wash all the fruits thoroughly.
- Cut the strawberries in halves, chop the melon into bite-sized pieces, and slice the banana into rounds.
- Take a skewer and start threading the fruits onto it, alternating between different types for a colorful presentation.
- Repeat until all fruit is used or desired length is reached.
- Serve immediately or refrigerate for a rejuvenating snack later! Enjoy!
- Generous Capacity: 7-quart slow cooker that comfortably serves 9+ people or fits a 7-pound roast
- Cooking Flexibility: High or low slow cooking settings, with convenient warm function for ideal serving...
- Convenient: Set it and forget it feature enables you to cook while at work or performing daily tasks
Cheese and Cracker Sandwiches
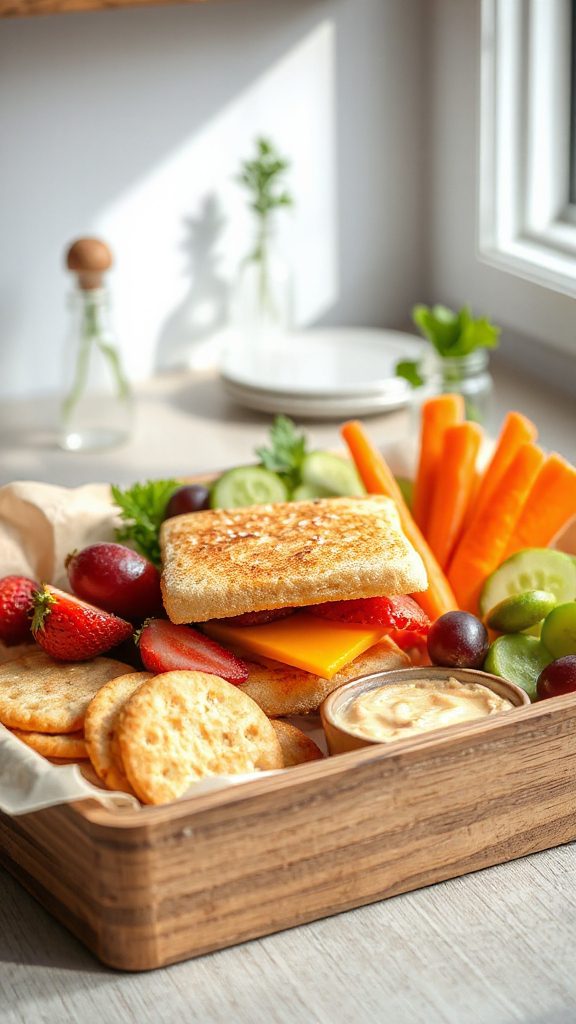
Cheese and Cracker Sandwiches are a fantastic and easy snack for kids that combines the deliciousness of cheese with the crunchiness of crackers. These protein-packed sandwiches can be customized with different types of cheese and flavored crackers, making them a versatile option for lunch boxes or after-school treats. They are simple enough for kids to assemble themselves, encouraging creativity while also providing a satisfying snack.
| Ingredients | Quantity |
|---|---|
| Cheese slices (cheddar, mozzarella, or your choice) | 8 slices |
| Crackers (whole grain, flavored, or regular) | 16 crackers |
| Optional: deli meats (ham, turkey, or chicken) | 8 slices |
| Optional: lettuce or spinach leaves | A handful |
Instructions:
- Lay out half of the crackers on a clean surface.
- Place a slice of cheese on each cracker.
- If desired, add a slice of deli meat and a leaf of lettuce on top of the cheese.
- Top each with another cracker to create a sandwich.
- Serve immediately or pack into lunchboxes for an easy snack on the go! Enjoy!
- 100% Leak-proof: Guaranteed no-spill seal and secure latches
- Crystal-clear Tritan Built: Stain-resistant and odor-resistant material for a clear view of contents
- Lightweight & Sturdy: Easy to carry, yet durable for everyday use
Peanut Butter Banana Wraps

Peanut Butter Banana Wraps are a delightful and nutritious snack that kids will love. This easy-to-make wrap combines the rich creaminess of peanut butter with the natural sweetness of bananas, all wrapped up in a soft tortilla. Perfect for lunchboxes or a quick after-school bite, these wraps can also be customized with toppings like honey or granola for added crunch.
| Ingredients | Quantity |
|---|---|
| Whole wheat tortillas | 2 |
| Peanut butter | 1/2 cup |
| Bananas | 2 |
| Honey (optional) | 2 tablespoons |
| Granola (optional) | 1/4 cup |
Instructions:
- Spread a generous amount of peanut butter evenly over each tortilla.
- Peel and slice the bananas into thin rounds, then layer them on top of the peanut butter.
- Drizzle honey over the bananas if desired, and sprinkle granola for added texture.
- Roll the tortilla tightly from one end to the other.
- Slice the wraps into bite-sized pieces and serve immediately or pack for later! Enjoy!
- 𝗘𝗳𝗳𝗼𝗿𝘁𝗹𝗲𝘀𝘀 𝗪𝗲𝗶𝗴𝗵𝗶𝗻𝗴: Supports 5 units...
- 𝗣𝗿𝗲𝗰𝗶𝘀𝗲 𝗥𝗲𝘀𝘂𝗹𝘁𝘀: Accurately weighs up to 11 lb/5 kg with 1 g...
- 𝗦𝗶𝗺𝗽𝗹𝗲 & 𝗖𝗼𝗺𝗽𝗮𝗰𝘁: The small and sleek scale is a perfect fit for...
Pasta Salad Jars
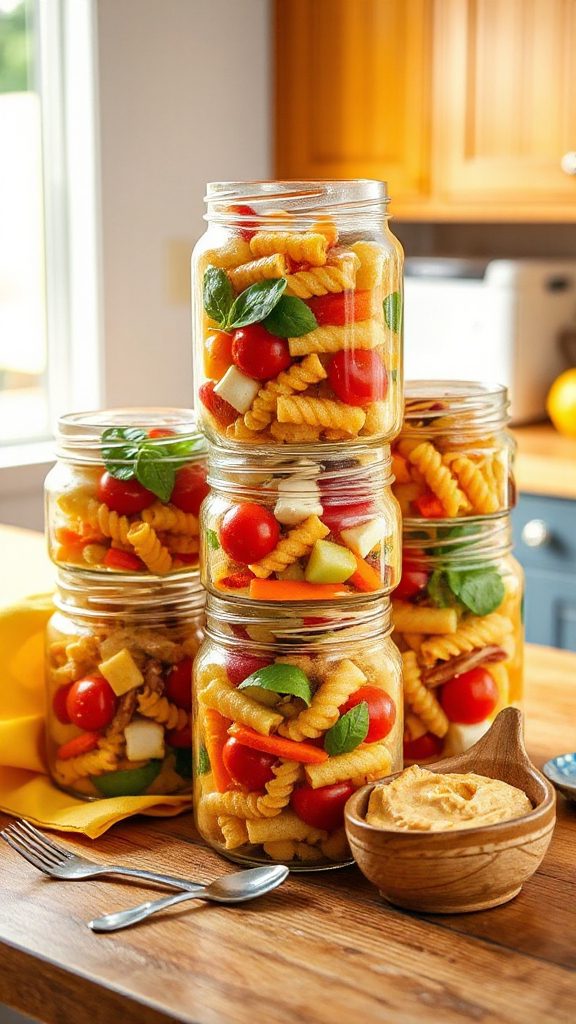
Pasta Salad Jars are a fun and colorful way to pack a nutritious and tasty meal for kids. These portable salads are layered in jars, making them not only visually appealing but also easy to prepare in advance for lunchboxes or after-school snacks. Fill them with a variety of pasta, vegetables, and proteins to keep lunchtime exciting and healthy!
| Ingredients | Quantity |
|---|---|
| Pasta (rotini or bowtie) | 2 cups |
| Cherry tomatoes | 1 cup |
| Cucumber (diced) | 1 medium |
| Bell pepper (diced) | 1 medium |
| Black olives (sliced) | 1/2 cup |
| Mozzarella balls (optional) | 1 cup |
| Italian dressing | 1/4 cup |
| Fresh basil (optional) | 1/4 cup chopped |
Instructions:
- Cook the pasta according to package directions, then drain and cool.
- In a clean jar, layer the ingredients starting with the dressing at the bottom, followed by cherry tomatoes, cucumbers, bell pepper, olives, mozzarella, and finally the pasta on top.
- If using, sprinkle fresh basil on top for added flavor.
- Seal the jars and refrigerate until ready to serve! Shake gently to mix before eating. Enjoy!
- Instant Read Food Thermometer | Our instant read thermometer features a temperature probe and advanced,...
- Multi-Use | From bbq thermometer to baking thermometer, our digital food thermometer for cooking is...
- Easy-Read Digital Thermometer For Cooking | Large instant thermometer dial with bright blue backlight...
Hummus With Pita Chips

Hummus with Pita Chips is a delightful and nutritious snack that kids will love to dip into! This creamy chickpea spread is perfect for pairing with crispy, homemade pita chips. It’s a great option for after-school munchies or a balanced addition to lunchboxes, packed with protein and fiber to keep little tummies full and happy!
| Ingredients | Quantity |
|---|---|
| Canned chickpeas | 1 can (15 oz) |
| Tahini | 1/4 cup |
| Lemon juice | 2 tablespoons |
| Garlic (minced) | 1 clove |
| Olive oil | 2 tablespoons |
| Salt | 1/2 teaspoon |
| Water | 2-4 tablespoons |
| Whole wheat pita bread | 2-3 pieces |
Instructions:
- In a food processor, combine the chickpeas, tahini, lemon juice, garlic, olive oil, and salt.
- Blend until smooth, gradually adding water to reach desired consistency.
- In a separate bowl, cut pita bread into triangles, brush lightly with olive oil, and season with salt.
- Bake in a preheated oven at 400°F (200°C) for about 5-7 minutes until crispy.
- Serve the hummus in a bowl with pita chips on the side for dipping. Enjoy!
- Versatile 54-Piece Collection: Elevate your kitchen with the Home Hero 54-Piece Kitchen Utensil Set, a...
- Durable and Long-Lasting: Crafted from premium stainless steel, these kitchen utensils are designed to...
- Perfect Holiday Gift: Delight your loved ones with this kitchen utensils gift set this festive season....
Yogurt Parfaits
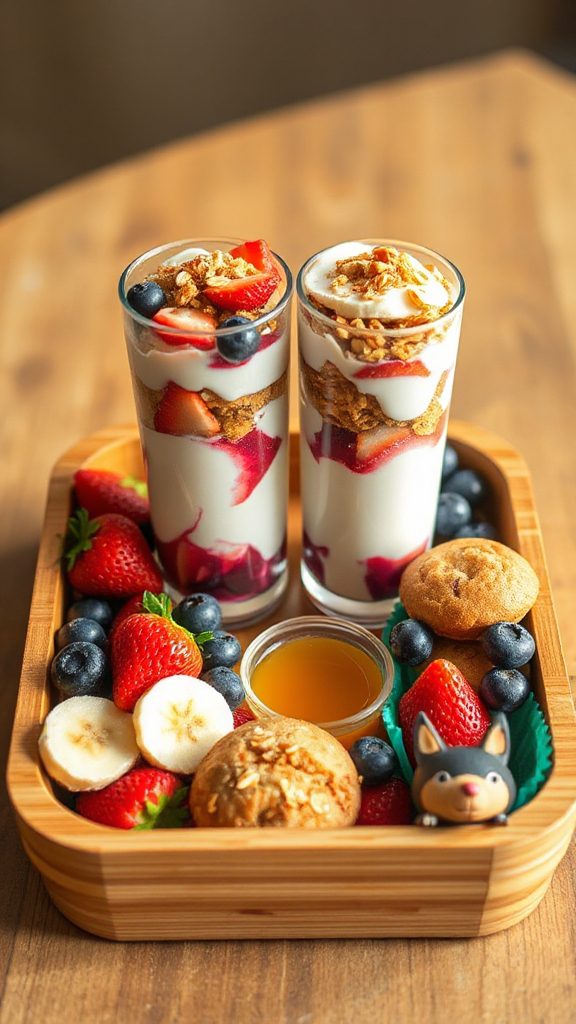
Yogurt Parfaits are a fun and colorful snack that kids can help assemble, making them perfect for back-to-school lunches or after-school treats. These layered delights not only taste great but also provide a healthy dose of protein, calcium, and essential nutrients. By combining creamy yogurt, fresh fruits, and crunchy granola, Yogurt Parfaits are customizable to each child’s taste preferences and are sure to be a hit!
| Ingredients | Quantity |
|---|---|
| Yogurt (plain or flavored) | 2 cups |
| Fresh berries (strawberries, blueberries, etc.) | 1 cup |
| Granola | 1 cup |
| Honey or maple syrup (optional) | 2 tablespoons |
| Chopped nuts (optional) | 1/4 cup |
Instructions:
- In a clear glass or container, spoon a layer of yogurt at the bottom.
- Add a layer of fresh berries on top of the yogurt.
- Sprinkle a layer of granola over the berries.
- Repeat the layers until the glass is filled, finishing with a layer of berries and a drizzle of honey or maple syrup if desired.
- Top with chopped nuts for an extra crunch, and serve immediately or pack for later! Enjoy your delicious and nutritious Yogurt Parfaits!
- 24-ounce insulated stainless-steel water bottle with a FreeSip spout and push-button lid with lock
- Patented FreeSip spout designed for either sipping upright through the built-in straw or tilting back to...
- Protective push-to-open lid keeps spout clean; convenient carry loop doubles as a lock
Energy Bites
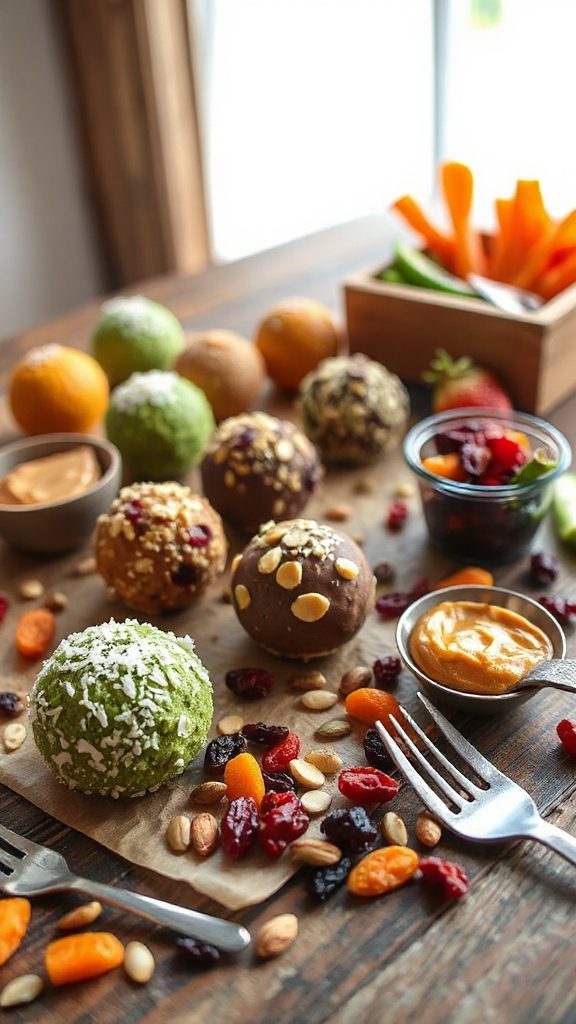
Energy Bites are a delicious and nutritious snack perfect for kids heading back to school. Packed with wholesome ingredients like oats, nut butter, and honey, these bite-sized treats provide a boost of energy and are easy for little hands to grab on the go. They can also be customized with various add-ins such as chocolate chips, seeds, or dried fruits, making them a versatile snack that your kids will love!
| Ingredients | Quantity |
|---|---|
| Rolled oats | 1 cup |
| Nut butter (peanut, almond, or sunflower) | 1/2 cup |
| Honey or maple syrup | 1/3 cup |
| Chocolate chips (optional) | 1/2 cup |
| Chia seeds or flaxseeds (optional) | 2 tablespoons |
| Vanilla extract | 1 teaspoon |
Instructions:
- In a large bowl, mix together the rolled oats, nut butter, honey or maple syrup, and vanilla extract until well combined.
- Add in any optional ingredients like chocolate chips, chia seeds, or flaxseeds and mix until evenly distributed.
- Using your hands, roll the mixture into small bite-sized balls, about 1 inch in diameter.
- Place the Energy Bites on a parchment-lined tray and refrigerate for at least 30 minutes to set.
- Once firm, store them in an airtight container in the refrigerator for a quick and healthy snack on the go! Enjoy!
Egg Muffins
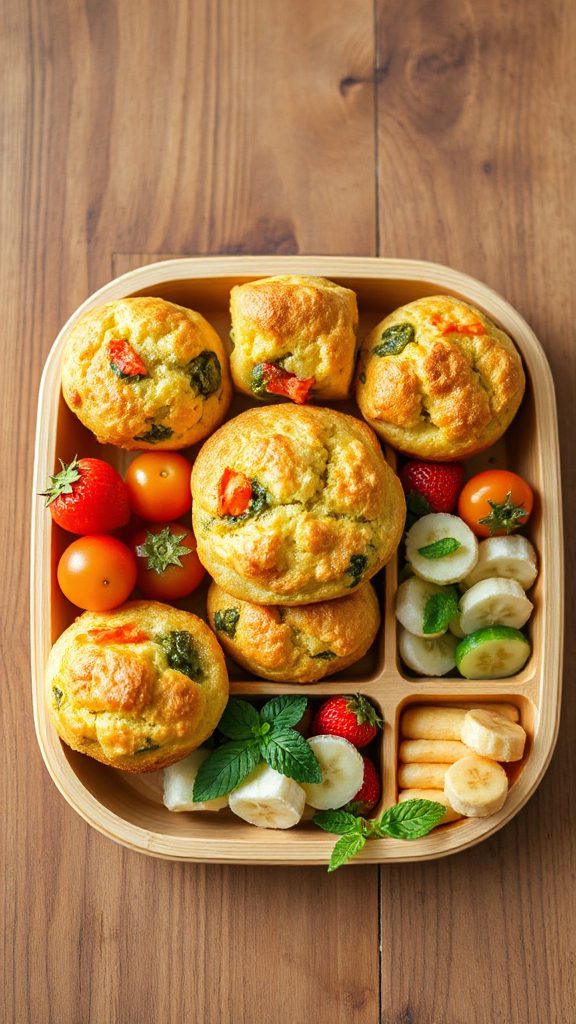
Egg Muffins are a fun and nutritious snack that kids will enjoy as they head back to school. These little egg cups are incredibly versatile and can be customized with a variety of veggies, cheese, and meats to suit your children’s tastes. They are perfect for meal prep and can be stored in the refrigerator or freezer for a quick protein-packed snack or breakfast on busy mornings.
| Ingredients | Quantity |
|---|---|
| Eggs | 6 |
| Milk | 1/4 cup |
| Salt | 1/2 teaspoon |
| Pepper | 1/4 teaspoon |
| Bell peppers (diced) | 1/2 cup |
| Spinach (chopped) | 1/2 cup |
| Cheese (cheddar or mozzarella) | 1/2 cup |
| Cooked bacon or sausage (optional) | 1/2 cup |
Instructions:
- Preheat the oven to 350°F (175°C) and grease a muffin tin.
- In a large bowl, whisk together the eggs, milk, salt, and pepper until well combined.
- Stir in the diced bell peppers, chopped spinach, cheese, and any optional ingredients such as cooked bacon or sausage.
- Pour the egg mixture evenly into the muffin tin, filling each cup about 3/4 full.
- Bake for 18-20 minutes or until the egg muffins are set and lightly golden.
- Allow to cool before removing from the tin, and then store in an airtight container in the refrigerator for up to a week. Enjoy!


