Crunchy Veggie Sticks With Hummus
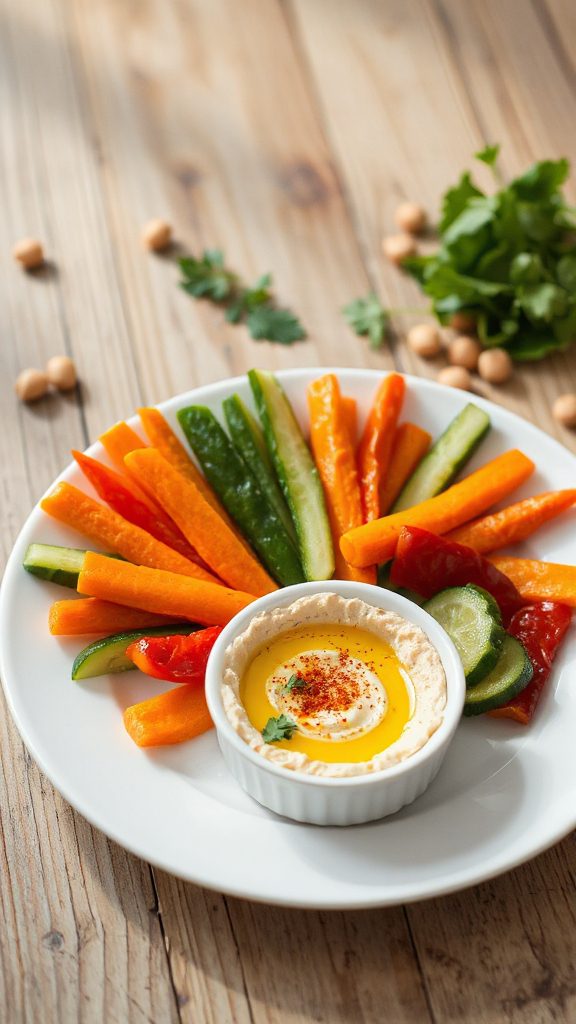
Crunchy veggie sticks with hummus make for a revitalizing and healthy side dish that is perfect for lunchboxes. This dish combines a variety of fresh, crisp vegetables served with creamy hummus for dipping. Not only is it packed with nutrients, but it’s also a fun and colorful addition that kids and adults alike will enjoy.
| Ingredients | Quantity |
|---|---|
| Carrots | 2 medium |
| Celery | 2 stalks |
| Cucumber | 1 medium |
| Bell pepper | 1 medium (any color) |
| Cherry tomatoes | 1 cup |
| Hummus | 1 cup |
| Olive oil (optional) | 1 tsp |
| Salt (optional) | To taste |
Instructions:
- Wash all vegetables thoroughly and pat dry.
- Peel the carrots and cut them into sticks; slice the celery into sticks as well.
- Cut the cucumber into sticks or rounds, and slice the bell pepper into strips.
- Arrange the prepared veggies and cherry tomatoes on a plate or in a lunchbox compartment.
- Serve with a portion of hummus for dipping, and drizzle with olive oil and a sprinkle of salt if desired. Enjoy!
- The Original Pro Chopper - Our superstar veggie slicer has been creating waves on TikTok! Simple to use,...
- Easy Meal Prep with Rust-Resistant Blades - Our vegetable chopper is perfect for anyone who wants to eat...
- 5-Star Design - The soft-grip TPU handle ensures controlled chopping, while the non-skid rubber base...
Quinoa Salad With Vegetables
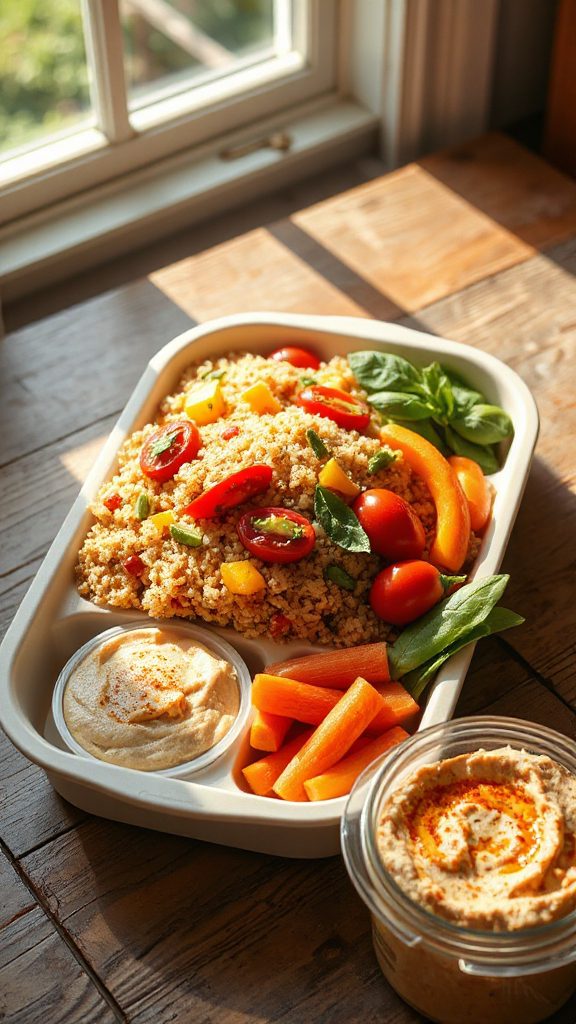
Quinoa salad with vegetables is a nutritious and vibrant side dish that is perfect for lunchboxes. This dish offers a delightful combination of cooked quinoa and an array of fresh vegetables, making it a fantastic source of protein, fiber, and essential vitamins. It’s not only easy to prepare but also versatile, allowing you to customize it with your favorite vegetables and dressings.
| Ingredients | Quantity |
|---|---|
| Quinoa | 1 cup |
| Water | 2 cups |
| Bell pepper (diced) | 1 medium |
| Cucumber (diced) | 1 medium |
| Cherry tomatoes (halved) | 1 cup |
| Red onion (finely chopped) | 1/2 medium |
| Olive oil | 2 tbsp |
| Lemon juice | 2 tbsp |
| Salt | To taste |
| Pepper | To taste |
| Fresh parsley (chopped, optional) | 1/4 cup |
Instructions:
- Rinse quinoa under cold water and then add it to a pot with water. Bring to a boil, then reduce heat, cover, and simmer for about 15 minutes or until the quinoa is fluffy and water is absorbed.
- While quinoa cooks, prepare the vegetables by dicing the bell pepper, cucumber, and red onion, and halving the cherry tomatoes.
- In a large bowl, combine the cooked quinoa with the diced vegetables.
- In a small bowl, whisk together olive oil, lemon juice, salt, and pepper to create a dressing.
- Pour the dressing over the quinoa and vegetable mixture, and toss gently to combine. Add chopped parsley if desired.
- Allow the salad to cool before packing it into lunchboxes or serving. Enjoy!
- Makes Everything Simple : Just forget your bagged cheese! Only turn the handle for several times and get...
- Premium Material : All parts of the rotary cheese grater are made of food grade ABS material, no BPA. The...
- Three Option Grater : The parmesan cheese grater finishes food preparation with slicing, shredding and...
Cheese and Crackers Platter

Cheese and crackers platter is a classic and easy-to-prepare side dish that is perfect for lunchboxes. This dish consists of various types of cheeses paired with an assortment of crackers, making it a delightful and savory option that can be customized based on personal preferences or dietary restrictions. It’s a crowd-pleaser that’s as appealing to kids as it is to adults.
| Ingredients | Quantity |
|---|---|
| Assorted cheeses (e.g., cheddar, mozzarella, gouda) | 8 oz |
| Variety of crackers | 1 box |
| Grapes or cherry tomatoes (optional) | 1 cup |
| Sliced cucumber (optional) | 1 medium |
| Hummus or dip (optional) | 1/2 cup |
| Fresh herbs (optional, for garnish) | a few sprigs |
Instructions:
- Choose a selection of cheeses and cut them into bite-sized pieces or appropriate slices for serving.
- Arrange the assorted cheeses on a serving platter or lunchbox.
- Add a variety of crackers around the cheese, ensuring they are well spaced for easy access.
- If desired, include some optional items like grapes or cherry tomatoes, sliced cucumbers, and a small bowl of hummus or dip for added flavor and texture.
- Garnish with fresh herbs, if using, for a pop of color and presentation.
- Pack the platter into lunchboxes and enjoy!
- 💰 REDUCE WASTE AND SAVE MONEY: Chef Preserve keeps FOOD FRESH 5 TIMES LONGER than non-vacuum storage...
- ✅ POWERFUL, QUICK & EASY TO USE: Simply press the button to start. The device vacuum seals a bag in 5...
- ♻️ REUSABLE & RESEALABLE BAGS: Chef Preserve comes with dishwasher, freezer, refrigerator, and...
Fruit Skewers for a Sweet Treat
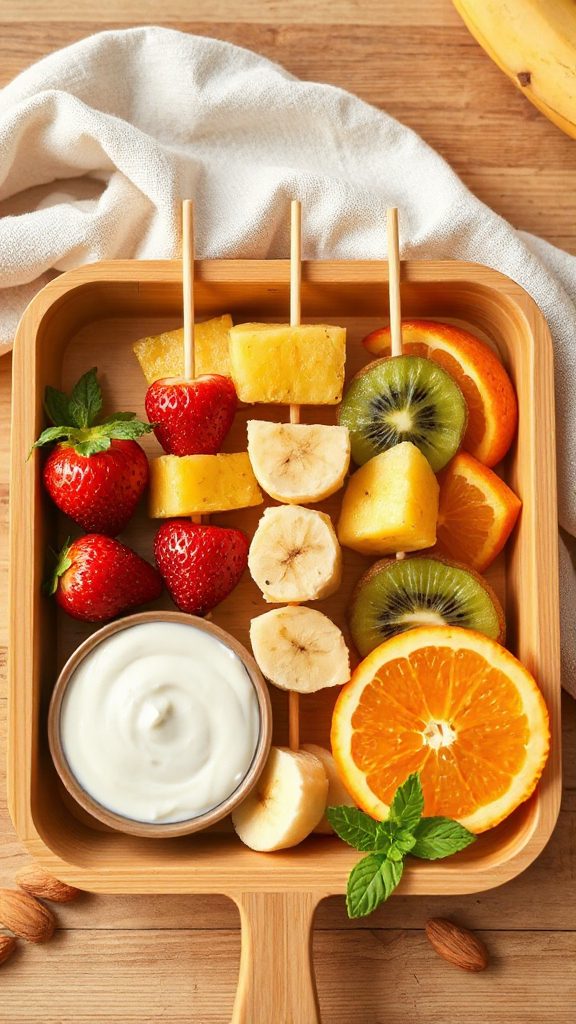
Fruit skewers are a colorful and invigorating addition to any lunchbox, making them a fun and nutritious way to enjoy a variety of fruits. These skewers are easy to assemble and can be customized to suit individual tastes, offering a delightful balance of sweetness and texture that kids will love. Perfect for a healthy snack or dessert, fruit skewers can brighten up any lunch.
| Ingredients | Quantity |
|---|---|
| Assorted fresh fruits (e.g., strawberries, grapes, pineapple, kiwi, melon) | 2 cups |
| Wooden or bamboo skewers | 10-12 sticks |
| Optional: yogurt or honey for dipping | 1/2 cup |
Instructions:
- Wash and prepare the assorted fresh fruits by cutting them into bite-sized pieces as needed.
- Thread the fruit pieces onto the wooden or bamboo skewers, alternating between different fruits for a vibrant look.
- Repeat until all the skewers are filled with fruit.
- If desired, serve with a small bowl of yogurt or honey for dipping.
- Pack the fruit skewers into lunchboxes and enjoy!
- Generous Capacity: 7-quart slow cooker that comfortably serves 9+ people or fits a 7-pound roast
- Cooking Flexibility: High or low slow cooking settings, with convenient warm function for ideal serving...
- Convenient: Set it and forget it feature enables you to cook while at work or performing daily tasks
Mini Caprese Bites
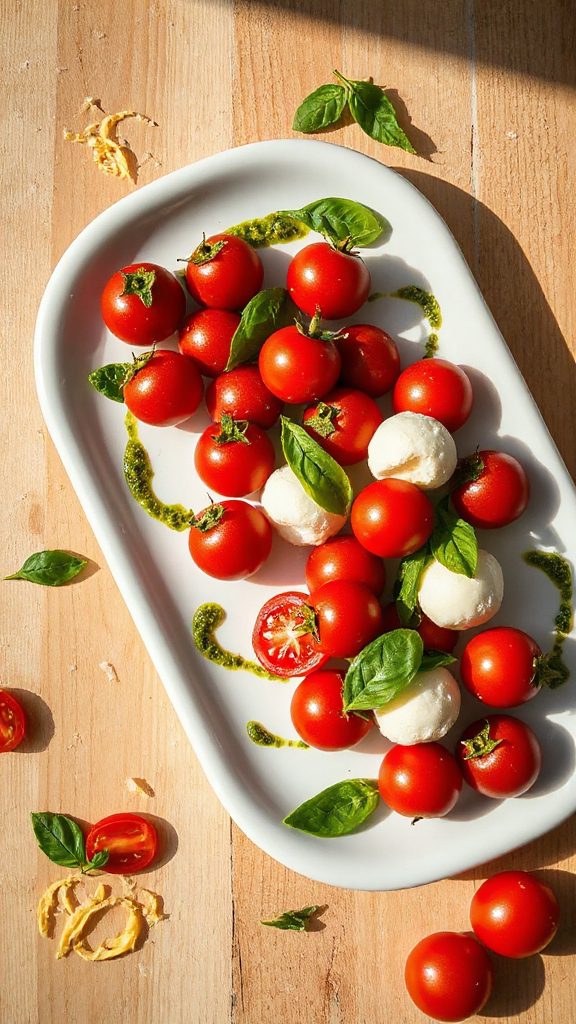
Mini Caprese Bites are a delightful and elegant option for lunchbox side dishes that combine the fresh flavors of tomatoes, basil, and mozzarella cheese. These bite-sized treats are perfect for kids and adults alike, offering a taste of classic Italian cuisine in a portable format. They not only make a nutritious addition to any meal but also provide a visually appealing, colorful touch that is sure to impress.
| Ingredients | Quantity |
|---|---|
| Cherry tomatoes | 1 pint |
| Fresh mozzarella balls | 8 oz |
| Fresh basil leaves | 1 bunch |
| Balsamic glaze (optional) | To drizzle |
| Salt and pepper | To taste |
| Skewers or toothpicks | 10-12 sticks |
Instructions:
- Wash the cherry tomatoes and basil leaves.
- On each skewer or toothpick, thread one cherry tomato, one mozzarella ball, and one basil leaf. Repeat until the skewers are filled.
- Arrange the assembled skewers on a serving plate.
- Drizzle with balsamic glaze and sprinkle with salt and pepper to taste.
- Pack the Mini Caprese Bites into lunchboxes and enjoy!
- 100% Leak-proof: Guaranteed no-spill seal and secure latches
- Crystal-clear Tritan Built: Stain-resistant and odor-resistant material for a clear view of contents
- Lightweight & Sturdy: Easy to carry, yet durable for everyday use
Savory Roasted Chickpeas
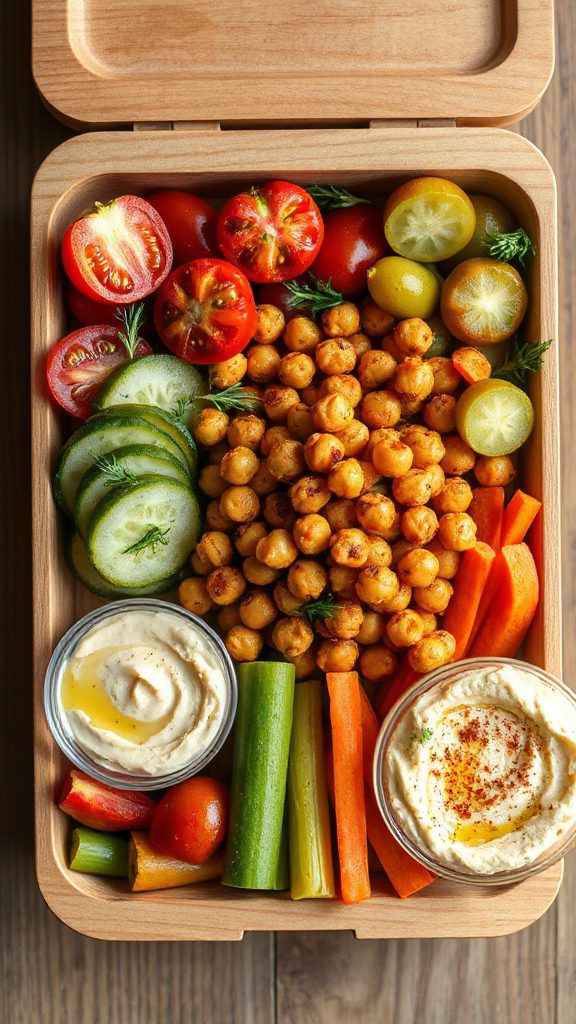
Savory Roasted Chickpeas are a crunchy, protein-packed snack that make an excellent side dish for lunchboxes. These little legumes are seasoned to perfection and can be adjusted to suit different taste preferences, making them a versatile option for both kids and adults. They add a satisfying crunch and a healthy boost to any meal, making them a great alternative to traditional chips.
| Ingredients | Quantity |
|---|---|
| Canned chickpeas | 1 can (15 oz) |
| Olive oil | 2 tablespoons |
| Cumin | 1 teaspoon |
| Paprika | 1 teaspoon |
| Garlic powder | 1 teaspoon |
| Salt | To taste |
| Black pepper | To taste |
Instructions:
- Preheat the oven to 400°F (200°C).
- Drain and rinse the canned chickpeas, then dry them thoroughly with a paper towel.
- In a bowl, toss the chickpeas with olive oil, cumin, paprika, garlic powder, salt, and black pepper.
- Spread the chickpeas out on a baking sheet in a single layer.
- Roast in the preheated oven for 20-30 minutes, stirring halfway through, until crispy and golden.
- Allow to cool before packing into lunchboxes for enjoyment!
- 𝗘𝗳𝗳𝗼𝗿𝘁𝗹𝗲𝘀𝘀 𝗪𝗲𝗶𝗴𝗵𝗶𝗻𝗴: Supports 5 units...
- 𝗣𝗿𝗲𝗰𝗶𝘀𝗲 𝗥𝗲𝘀𝘂𝗹𝘁𝘀: Accurately weighs up to 11 lb/5 kg with 1 g...
- 𝗦𝗶𝗺𝗽𝗹𝗲 & 𝗖𝗼𝗺𝗽𝗮𝗰𝘁: The small and sleek scale is a perfect fit for...
Cucumber and Avocado Rolls

Cucumber and Avocado Rolls are a invigorating and healthy side dish that’s perfect for lunchboxes. These rolls combine the crispness of cucumber with the creamy texture of avocado, creating a delightful bite that’s both nutritious and satisfying. They can be customized with a variety of fillings to suit your taste preferences, making them a fun and versatile option for any meal.
| Ingredients | Quantity |
|---|---|
| Cucumber | 1 large |
| Ripe avocado | 1 medium |
| Cream cheese (optional) | 2 tablespoons |
| Lemon juice | 1 tablespoon |
| Salt | To taste |
| Black pepper | To taste |
| Fresh herbs (optional) | 1 tablespoon |
Instructions:
- Slice the cucumber lengthwise to create long, thin strips using a vegetable peeler or mandoline.
- In a bowl, mash the avocado and mix with lemon juice, salt, and black pepper to taste. If using, add cream cheese and mix until smooth.
- Spread a thin layer of the avocado mixture onto each cucumber strip.
- Roll the cucumber strips tightly from one end to the other, securing with a toothpick if necessary.
- Garnish with fresh herbs if desired and pack into lunchboxes for a tasty treat!
- Instant Read Food Thermometer | Our instant read thermometer features a temperature probe and advanced,...
- Multi-Use | From bbq thermometer to baking thermometer, our digital food thermometer for cooking is...
- Easy-Read Digital Thermometer For Cooking | Large instant thermometer dial with bright blue backlight...
Pasta Salad With Italian Dressing
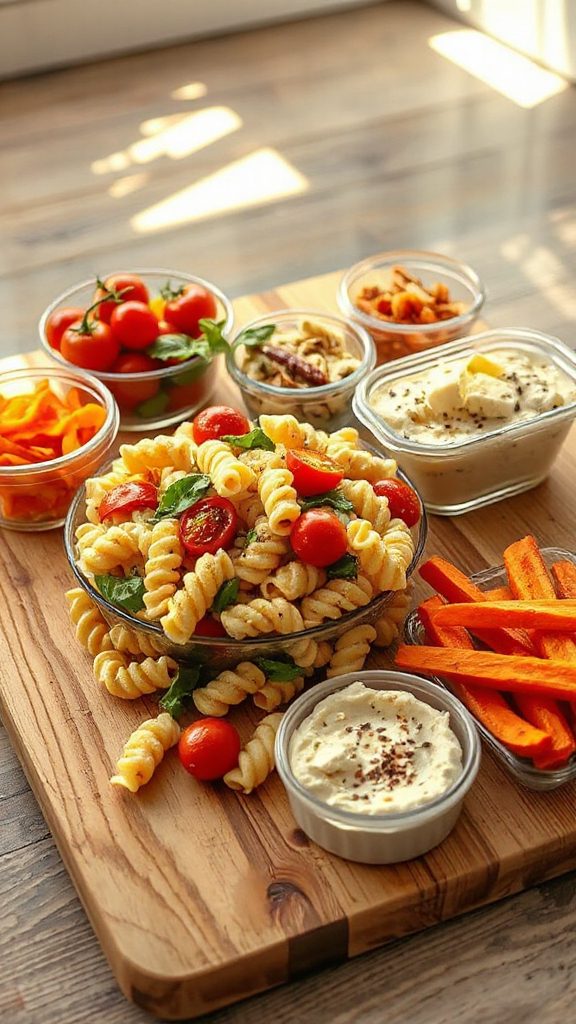
Pasta Salad with Italian Dressing is a vibrant and satisfying side dish that marries colorful veggies and tender pasta with a zesty Italian dressing. This dish is not only quick to prepare but also easy to customize, making it an excellent choice for lunchboxes or picnics. It provides a great balance of carbohydrates, fiber, and healthy fats, ensuring both taste and nutrition are met in one delightful serving.
| Ingredients | Quantity |
|---|---|
| Cooked pasta (e.g., rotini or penne) | 2 cups |
| Cherry tomatoes | 1 cup |
| Bell pepper (any color) | 1 medium |
| Cucumber | 1 medium |
| Red onion | 1 small |
| Kalamata olives (sliced) | 1/2 cup |
| Italian dressing | 1/4 cup |
| Fresh basil or parsley | For garnish (optional) |
Instructions:
- In a large bowl, combine the cooked pasta, halved cherry tomatoes, diced bell pepper, chopped cucumber, thinly sliced red onion, and sliced olives.
- Pour the Italian dressing over the salad, tossing until well combined.
- Adjust seasoning with salt and pepper as needed.
- Garnish with fresh basil or parsley if desired.
- Portion into lunchboxes and refrigerate until ready to serve. Enjoy!
- Versatile 54-Piece Collection: Elevate your kitchen with the Home Hero 54-Piece Kitchen Utensil Set, a...
- Durable and Long-Lasting: Crafted from premium stainless steel, these kitchen utensils are designed to...
- Perfect Holiday Gift: Delight your loved ones with this kitchen utensils gift set this festive season....
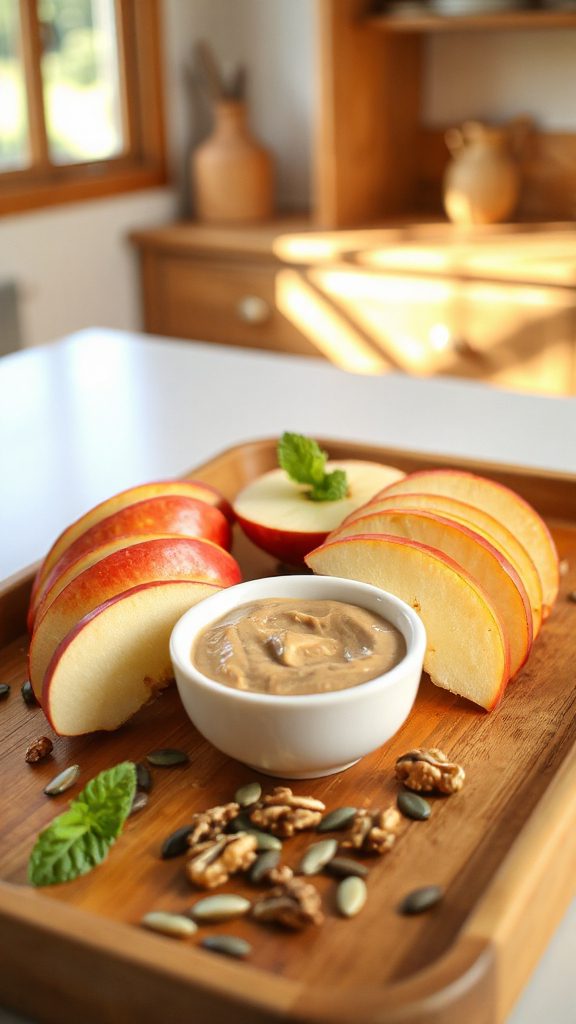
Apple Slices With Nut Butter
| Ingredients | Quantity |
|---|---|
| Apples (any variety) | 2 medium |
| Nut butter (e.g., almond, peanut, or cashew) | 1/2 cup |
| Optional toppings (e.g., granola, raisins, or cinnamon) | As desired |
Instructions:
- Wash and slice the apples into wedges or rounds, removing the core if necessary.
- Spread a generous layer of nut butter on each apple slice.
- If desired, sprinkle optional toppings such as granola, raisins, or cinnamon for added flavor and texture.
- Arrange the apple slices in lunchboxes or serve immediately. Enjoy!
- 24-ounce insulated stainless-steel water bottle with a FreeSip spout and push-button lid with lock
- Patented FreeSip spout designed for either sipping upright through the built-in straw or tilting back to...
- Protective push-to-open lid keeps spout clean; convenient carry loop doubles as a lock
Whole Grain Pita Chips and Salsa
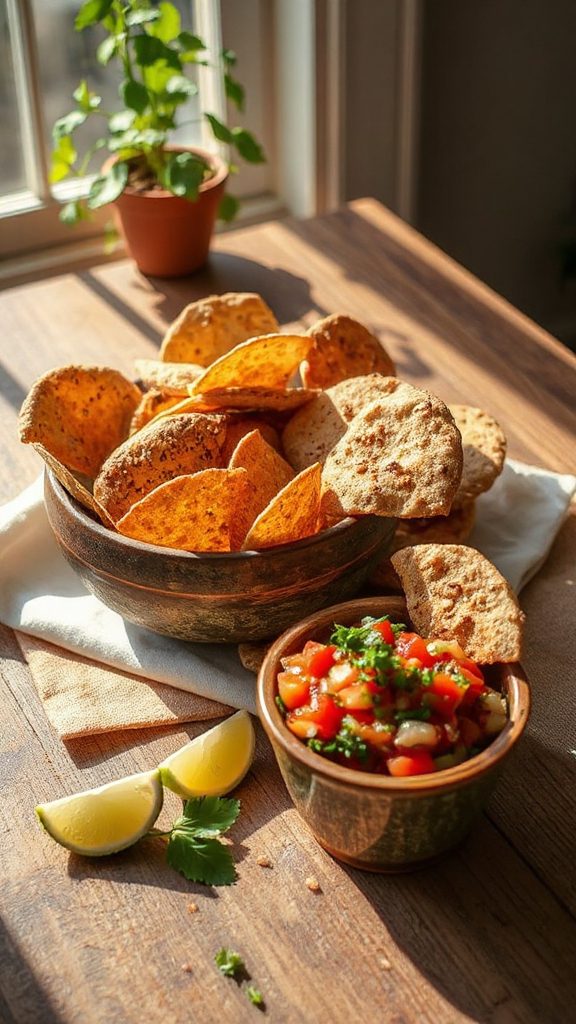
Whole Grain Pita Chips and Salsa make a perfect lunchbox side dish, offering a crunchy and flavorful addition to any meal. The whole-grain pita chips are not only healthier than traditional chips but pair wonderfully with a zesty salsa for a revitalizing bite. This combination is nutritious, satisfying, and easy to prepare.
| Ingredients | Quantity |
|---|---|
| Whole grain pita bread | 2 large pitas |
| Olive oil | 2 tablespoons |
| Garlic powder | 1 teaspoon |
| Sea salt | 1/2 teaspoon |
| Salsa | 1 cup (store-bought or homemade) |
Instructions:
- Preheat your oven to 350°F (175°C).
- Cut the whole grain pita bread into triangles.
- In a bowl, toss the pita triangles with olive oil, garlic powder, and sea salt until evenly coated.
- Spread the pita triangles in a single layer on a baking sheet.
- Bake for 10-12 minutes or until golden and crispy, flipping halfway through.
- Serve with salsa on the side for dipping. Enjoy!
Edamame Beans for a Protein Boost
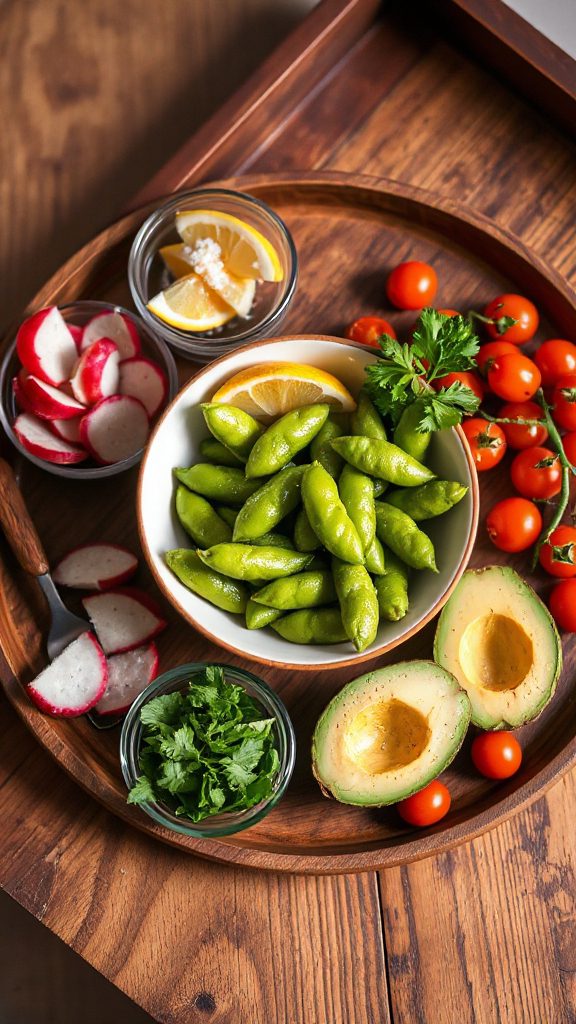
Edamame beans make for an excellent lunchbox side dish packed with protein and nutrients. These young soybeans are not only delicious but also provide a satisfying crunch and can be served warm or chilled. They are easy to prepare, making them a convenient addition to any meal.
| Ingredients | Quantity |
|---|---|
| Edamame beans (in pods) | 2 cups (fresh or frozen) |
| Sea salt | 1 teaspoon |
| Optional toppings (e.g., chili flakes, sesame oil) | To taste |
Instructions:
- If using frozen edamame, bring a pot of water to a boil and add the edamame. If using fresh, simply rinse under cold water.
- Cook the edamame for about 5-7 minutes or until tender and bright green.
- Drain and transfer to a bowl, then sprinkle with sea salt. Toss gently to combine.
- For added flavor, drizzle with sesame oil or sprinkle with chili flakes if desired.
- Allow to cool slightly, then portion into lunchboxes. Enjoy!


