The Chemistry of Cheesy Quesadillas

Cheesy quesadillas are a delicious and versatile dish that showcases the wonderful melting properties of cheese combined with a crispy tortilla shell. This simple yet satisfying meal can be enjoyed any time of the day and is perfect for a lunch discovery with your science club! By observing the interaction of cheese and heat, you can witness the fascinating chemistry that occurs when cheese melts into gooey perfection.
| Ingredients | Quantity |
|---|---|
| Flour tortillas | 4 large |
| Shredded cheese | 2 cups (cheddar or Mexican blend) |
| Olive oil | 2 tablespoons |
| Refried beans (optional) | 1 cup |
| Jalapeños (sliced, optional) | 1/4 cup |
| Diced tomatoes (optional) | 1/2 cup |
| Sour cream (optional for serving) | As desired |
Cooking Steps Instructions:
- Heat a skillet over medium heat and add 1 tablespoon of olive oil.
- Place one tortilla in the skillet and layer half the cheese on one half of the tortilla.
- Add any optional ingredients like refried beans or jalapeños on top of the cheese.
- Fold the tortilla in half and cook for 2-3 minutes until the bottom is golden brown.
- Carefully flip the quesadilla and cook for another 2-3 minutes until the cheese is melted and the other side is golden brown.
- Remove from the skillet, slice into wedges, and serve with sour cream and diced tomatoes if desired. Enjoy!
- The Original Pro Chopper - Our superstar veggie slicer has been creating waves on TikTok! Simple to use,...
- Easy Meal Prep with Rust-Resistant Blades - Our vegetable chopper is perfect for anyone who wants to eat...
- 5-Star Design - The soft-grip TPU handle ensures controlled chopping, while the non-skid rubber base...
Physics of the Perfect Grilled Cheese

Grilled cheese sandwiches are a classic comfort food that highlights the fascinating principles of physics through the perfect balance of heat, time, and ingredients. This dish is not only delicious but also an excellent way to explore how heat transfers and how different materials (like cheese and bread) interact when exposed to high temperatures, resulting in a melty, crispy delight.
| Ingredients | Quantity |
|---|---|
| Sliced bread | 4 slices |
| Cheddar cheese | 2 slices |
| Butter | 2 tablespoons |
Cooking Steps Instructions:
- Preheat a skillet over medium heat.
- Spread butter evenly on one side of each slice of bread.
- Place two slices of bread, buttered side down, into the skillet.
- Add a slice of cheese on top of each slice of bread.
- Top with the remaining slices of bread, buttered side facing up.
- Grill for 2-4 minutes until golden brown, then flip and cook the other side until the cheese melts and both sides are golden.
- Remove from the skillet, slice, and serve hot! Enjoy your delicious grilled cheese!
- Makes Everything Simple : Just forget your bagged cheese! Only turn the handle for several times and get...
- Premium Material : All parts of the rotary cheese grater are made of food grade ABS material, no BPA. The...
- Three Option Grater : The parmesan cheese grater finishes food preparation with slicing, shredding and...
Biological Boost With Colorful Veggie Wraps

Colorful veggie wraps are a vibrant, healthy option for lunch that packs a punch of nutrients and flavors. These wraps are not only visually appealing but also provide a delicious way to incorporate a variety of vegetables into your diet. Wrapped in a soft tortilla, these delicious veggies can be enjoyed by everyone looking for a quick and satisfying meal.
| Ingredients | Quantity |
|---|---|
| Whole wheat tortillas | 4 large |
| Hummus | ½ cup |
| Spinach leaves | 1 cup |
| Bell peppers (various colors) | 1 cup, sliced |
| Carrots (julienned) | ½ cup |
| Cucumber (sliced) | ½ cup |
| Avocado (sliced) | 1 medium |
| Feta cheese (optional) | ¼ cup |
| Olive oil | 1 tablespoon |
| Lemon juice | 1 tablespoon |
| Salt and pepper | to taste |
Cooking Steps Instructions:
- Spread a layer of hummus evenly on each tortilla.
- Layer the spinach, bell peppers, carrots, cucumber, and avocado on top of the hummus.
- Sprinkle feta cheese over the veggies, if using.
- Drizzle with olive oil and lemon juice, then season with salt and pepper.
- Roll up the tortilla tightly, folding in the sides as you go.
- Slice in half and serve immediately, or wrap in foil for a portable lunch option. Enjoy!
- 💰 REDUCE WASTE AND SAVE MONEY: Chef Preserve keeps FOOD FRESH 5 TIMES LONGER than non-vacuum storage...
- ✅ POWERFUL, QUICK & EASY TO USE: Simply press the button to start. The device vacuum seals a bag in 5...
- ♻️ REUSABLE & RESEALABLE BAGS: Chef Preserve comes with dishwasher, freezer, refrigerator, and...
The Alchemy of Flavor in Spicy Hummus
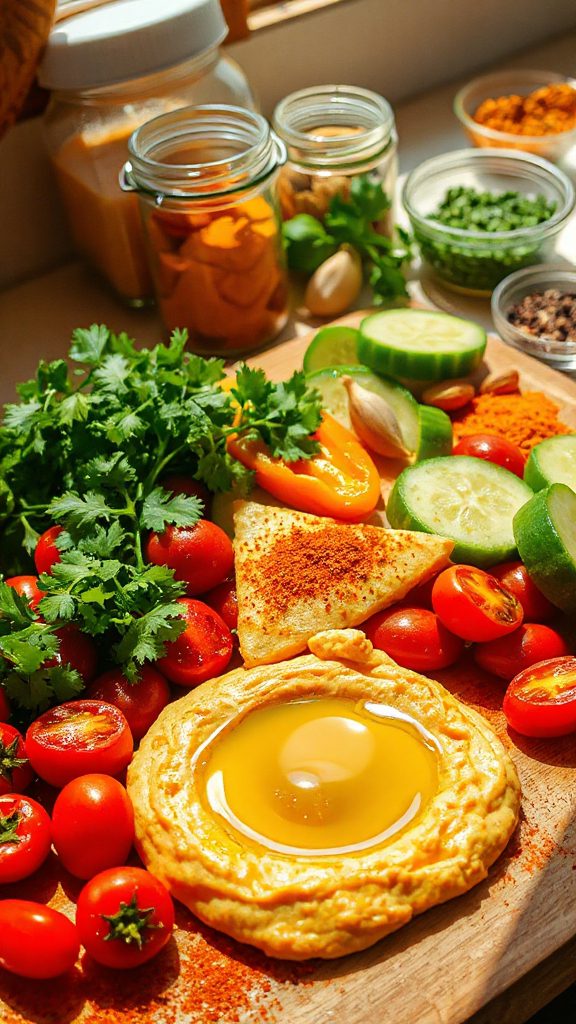
Spicy hummus is a zesty twist on the classic Middle Eastern dip that infuses rich flavors with a kick. This creamy blend of chickpeas, tahini, garlic, and spices is perfect for spreading on wraps, using as a dip for veggies, or simply enjoying with pita bread. Its bold taste makes it an exciting addition to any lunch, especially when paired with colorful veggie wraps.
| Ingredients | Quantity |
|---|---|
| Canned chickpeas | 1 can (15 oz) |
| Tahini | ¼ cup |
| Olive oil | 2 tablespoons |
| Fresh lemon juice | 2 tablespoons |
| Garlic (minced) | 2 cloves |
| Ground cumin | 1 teaspoon |
| Paprika | 1 teaspoon |
| Cayenne pepper | ½ teaspoon |
| Salt | to taste |
| Water | 2-3 tablespoons |
Cooking Steps Instructions:
- Rinse and drain the chickpeas, then place them in a food processor.
- Add tahini, olive oil, lemon juice, minced garlic, cumin, paprika, cayenne pepper, and salt.
- Blend until smooth, adding water gradually to achieve the desired consistency.
- Taste and adjust seasoning if necessary.
- Transfer to a serving bowl and drizzle with olive oil before serving. Enjoy with veggie wraps or as a dip!
- Generous Capacity: 7-quart slow cooker that comfortably serves 9+ people or fits a 7-pound roast
- Cooking Flexibility: High or low slow cooking settings, with convenient warm function for ideal serving...
- Convenient: Set it and forget it feature enables you to cook while at work or performing daily tasks
Molecular Gastronomy Meets Sushi Rolls

Molecular gastronomy is an innovative culinary trend that transforms the dining experience by incorporating scientific techniques and methods into the kitchen. Sushi rolls, traditionally delicately crafted, can be elevated with the application of molecular gastronomy to create visually stunning and intriguing flavor combinations. By using spherification, foams, and flavored gels, we can take the classic sushi roll to new culinary heights, making it a perfect dish for adventurous eaters at the Science Club lunch.
| Ingredients | Quantity |
|---|---|
| Sushi rice | 2 cups |
| Nori sheets | 4 sheets |
| Fresh fish (salmon/tuna) | 1/2 lb |
| Avocado | 1 |
| Cucumber | 1 |
| Soy sauce | to taste |
| Rice vinegar | 1/4 cup |
| Water | as needed |
| Agar-agar | 1 teaspoon |
| Edible flavoring (optional) | 1-2 drops |
Cooking Steps Instructions:
- Rinse the sushi rice until the water runs clear, then cook according to package instructions with water and rice vinegar added.
- Slice the fresh fish, avocado, and cucumber into thin strips.
- Prepare the flavored spheres using agar-agar and flavored liquid of your choice: dissolve agar-agar in boiling water, mix with your desired flavor, and drop into cold oil to form spheres.
- Once rice is cooked, cool it down and lay it on the nori sheet; place fish, avocado, and cucumber in the center.
- Roll tightly and slice into bite-sized pieces, topping with the flavored spheres and a drizzle of soy sauce before serving. Enjoy your molecular sushi rolls at lunch!
- 100% Leak-proof: Guaranteed no-spill seal and secure latches
- Crystal-clear Tritan Built: Stain-resistant and odor-resistant material for a clear view of contents
- Lightweight & Sturdy: Easy to carry, yet durable for everyday use
Biochemistry of Marinated Chicken Tacos
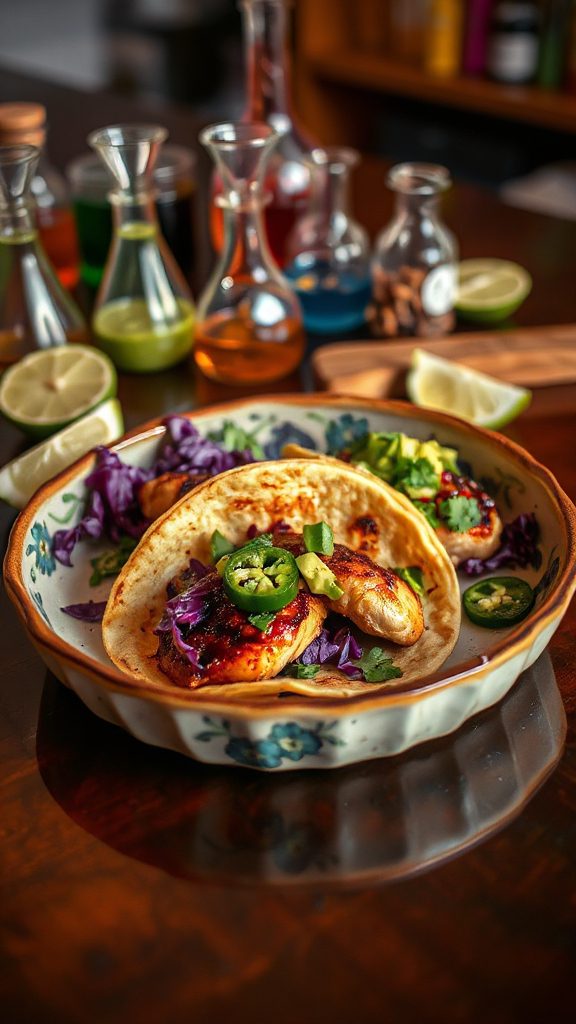
Marinated chicken tacos are a delightful and flavor-packed dish that perfectly combines tender, juicy chicken with a variety of fresh toppings. The marinade not only tenderizes the chicken but also infuses it with savory and zesty flavors, making it an excellent choice for a Science Club lunch where taste meets science. The beauty of these tacos lies in the simple preparation and the creativity of toppings, allowing for a customizable experience for every palate.
| Ingredients | Quantity |
|---|---|
| Chicken thighs (boneless) | 1 lb |
| Olive oil | 2 tablespoons |
| Lime juice | 2 tablespoons |
| Garlic (minced) | 2 cloves |
| Cumin | 1 teaspoon |
| Chili powder | 1 teaspoon |
| Salt | to taste |
| Black pepper | to taste |
| Corn or flour tortillas | 8 |
| Fresh cilantro | for garnish |
| Diced onion | 1/2 cup |
| Sliced radishes | 1/2 cup |
| Avocado (sliced) | 1 |
Cooking Steps Instructions:
- In a bowl, combine olive oil, lime juice, minced garlic, cumin, chili powder, salt, and pepper to create the marinade.
- Add chicken thighs to the marinade and let it sit for at least 30 minutes (or up to overnight in the refrigerator).
- Cook the marinated chicken in a skillet over medium-high heat until it’s cooked through and golden brown, about 6-8 minutes on each side. Let it rest for a few minutes before slicing.
- Warm the tortillas in a separate skillet or microwave, then fill each with sliced chicken, diced onion, radishes, avocado, and a sprinkle of cilantro.
- Serve with lime wedges on the side and enjoy your marinated chicken tacos at lunch!
- 𝗘𝗳𝗳𝗼𝗿𝘁𝗹𝗲𝘀𝘀 𝗪𝗲𝗶𝗴𝗵𝗶𝗻𝗴: Supports 5 units...
- 𝗣𝗿𝗲𝗰𝗶𝘀𝗲 𝗥𝗲𝘀𝘂𝗹𝘁𝘀: Accurately weighs up to 11 lb/5 kg with 1 g...
- 𝗦𝗶𝗺𝗽𝗹𝗲 & 𝗖𝗼𝗺𝗽𝗮𝗰𝘁: The small and sleek scale is a perfect fit for...
Culinary Artistry in Layered Salad Jars
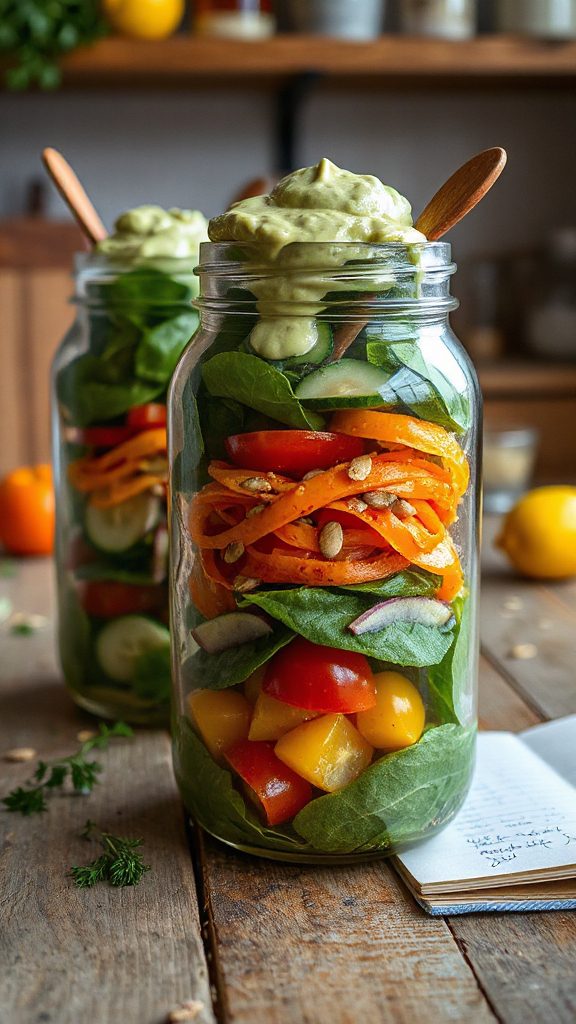
Layered salad jars are a delightful and visually appealing way to enjoy a variety of fresh vegetables, grains, and proteins all in one portable container. These jars are not only practical for meals on-the-go but also allow for creativity in the selection of ingredients and layering techniques, making each jar a unique masterpiece. Perfect for a Science Club lunch, these colorful salads can be customized to suit everyone’s preferences while being nutritious and satisfying.
| Ingredients | Quantity |
|---|---|
| Quinoa (cooked) | 1 cup |
| Cherry tomatoes | 1 cup |
| Cucumber (diced) | 1 |
| Bell pepper (diced) | 1 |
| Carrots (shredded) | 1 cup |
| Spinach or lettuce leaves | 2 cups |
| Chickpeas (canned, drained) | 1 cup |
| Feta cheese (crumbled) | 1/2 cup |
| Olive oil | 2 tablespoons |
| Lemon juice | 1 tablespoon |
| Salt | to taste |
| Black pepper | to taste |
Cooking Steps Instructions:
- Begin by layering the heavier ingredients at the bottom of the jar, such as chickpeas and quinoa.
- Add chopped cucumbers, bell peppers, and shredded carrots as the next layers.
- Follow with cherry tomatoes and crumbled feta cheese.
- Finish with a layer of spinach or lettuce at the top to keep it fresh.
- Drizzle olive oil and lemon juice over the top when ready to serve, and season with salt and pepper to taste. Enjoy your colorful and nutritious layered salad jars!
- Instant Read Food Thermometer | Our instant read thermometer features a temperature probe and advanced,...
- Multi-Use | From bbq thermometer to baking thermometer, our digital food thermometer for cooking is...
- Easy-Read Digital Thermometer For Cooking | Large instant thermometer dial with bright blue backlight...
The Science of Bread Rising: Artisan Sandwiches
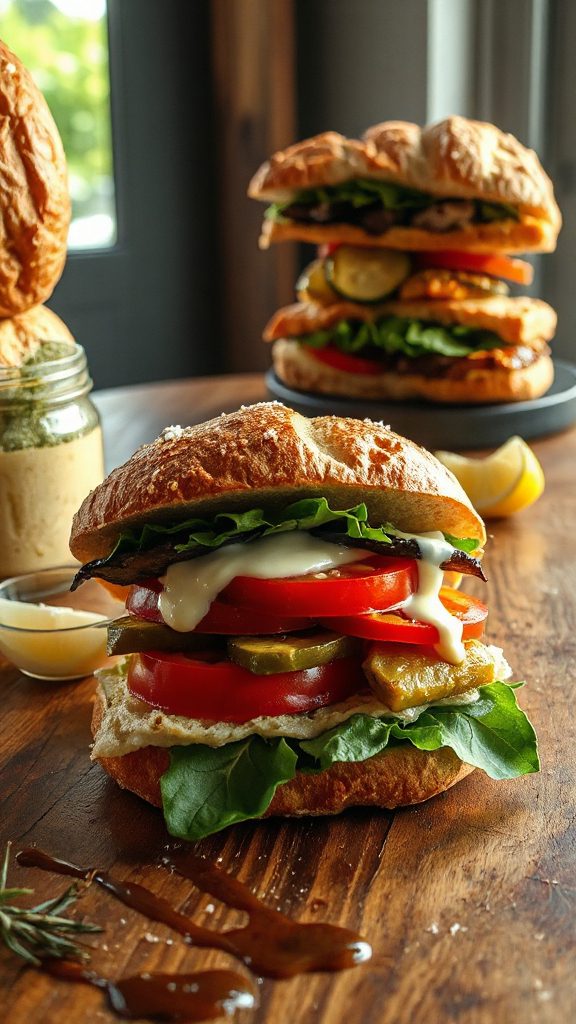
Artisan sandwiches are a flavorful way to showcase various types of bread and filling combinations, highlighting the science of bread rising and the chemistry involved in yeast fermentation. These sandwiches can feature a range of ingredients, from savory meats and cheeses to fresh vegetables and unique spreads, allowing both creativity and culinary science to shine through.
| Ingredients | Quantity |
|---|---|
| Artisan bread (sourdough, ciabatta, or focaccia) | 2 slices |
| Cheese (cheddar, gouda, or mozzarella) | 2 slices |
| Fresh greens (arugula, spinach, or mixed lettuce) | 1 cup |
| Sliced tomato | 1-2 slices |
| Avocado (sliced or mashed) | 1/2 |
| Cooked bacon or turkey | 2-3 slices |
| Mustard or mayonnaise | 1 tablespoon |
| Salt | to taste |
| Black pepper | to taste |
Cooking Steps Instructions:
- Begin by toasting the artisan bread slices lightly on either side until golden and crispy.
- Spread mustard or mayonnaise on one side of each bread slice.
- Layer fresh greens, sliced tomatoes, avocado, cheese, and your choice of meat in the following order: greens first, then tomatoes, avocado, cheese, and meat on the other slice.
- Season with salt and pepper to taste before topping with the second slice of bread, mustard/mayo side down.
- Press the sandwich slightly and grill it on a skillet over medium heat for about 3-4 minutes on each side, until the cheese is melted and the bread is golden brown. Slice in half and serve warm. Enjoy your delicious artisan sandwiches while exploring the science behind the perfect bread rise!
- Versatile 54-Piece Collection: Elevate your kitchen with the Home Hero 54-Piece Kitchen Utensil Set, a...
- Durable and Long-Lasting: Crafted from premium stainless steel, these kitchen utensils are designed to...
- Perfect Holiday Gift: Delight your loved ones with this kitchen utensils gift set this festive season....
Fermented Delight: Kimchi Grilled Cheese

Kimchi Grilled Cheese is a delicious twist on the classic grilled cheese sandwich that combines the rich, gooey texture of melted cheese with the spicy and tangy flavors of fermented kimchi. This fusion dish not only satisfies your cheese cravings but also offers a probiotic kick from the kimchi, making it a wholesome choice for lunch or a cozy dinner.
| Ingredients | Quantity |
|---|---|
| Sourdough or whole grain bread | 2 slices |
| Cheese (cheddar, pepper jack, or gouda) | 2 slices |
| Kimchi (drained and chopped) | 1/3 cup |
| Butter or olive oil | 1 tablespoon |
| Sesame seeds (optional) | 1 teaspoon |
| Green onions (chopped, optional) | 1 tablespoon |
Cooking Steps Instructions:
- Heat a skillet over medium heat and add butter or olive oil.
- Spread the kimchi evenly on one slice of bread, followed by a slice of cheese, and top with the other slice of bread to form a sandwich.
- Place the sandwich in the skillet, pressing it down gently with a spatula. Cook for about 2-3 minutes until the bottom is golden.
- Flip the sandwich carefully and cook the other side for another 2-3 minutes until the cheese is melted and the bread is golden brown.
- Optionally, sprinkle sesame seeds and green onions on the sandwich before slicing in half and serving hot. Enjoy your savory Kimchi Grilled Cheese that merges comfort food with a kick of flavor!
- 24-ounce insulated stainless-steel water bottle with a FreeSip spout and push-button lid with lock
- Patented FreeSip spout designed for either sipping upright through the built-in straw or tilting back to...
- Protective push-to-open lid keeps spout clean; convenient carry loop doubles as a lock
The Thermal Dynamics of Hot Soup

Hot soup is a classic comfort food that can be incredibly satisfying, especially on chilly days. With each spoonful, you experience a delightful warmth that not only nourishes your body but also offers a soothing sensation. In this recipe, we will explore how to make a warming and hearty vegetable soup that demonstrates the thermal dynamics of hot liquids, showcasing heat transfer and the importance of timing when cooking ingredients.
| Ingredients | Quantity |
|---|---|
| Olive oil | 2 tablespoons |
| Onion (chopped) | 1 medium |
| Carrots (diced) | 2 medium |
| Celery (diced) | 2 stalks |
| Garlic (minced) | 3 cloves |
| Vegetable broth | 4 cups |
| Tomatoes (diced) | 1 can (14 oz) |
| Green beans (trimmed) | 1 cup |
| Spinach (fresh) | 2 cups |
| Salt | to taste |
| Pepper | to taste |
| Optional herbs (thyme, basil) | to taste |
Cooking Steps Instructions:
- Heat olive oil in a large pot over medium heat. Add chopped onion, carrots, and celery, and sauté until softened.
- Stir in minced garlic and cook for an additional minute until fragrant.
- Pour in vegetable broth and diced tomatoes, and bring to a boil.
- Add green beans and simmer for 10 minutes until they are tender.
- Stir in the fresh spinach, season with salt, pepper, and herbs, and allow to wilt for a few minutes. Serve hot! Enjoy your comforting bowl of veggie-packed hot soup that warms both the body and soul.
Energy Transformation in Nut Butter Energy Balls
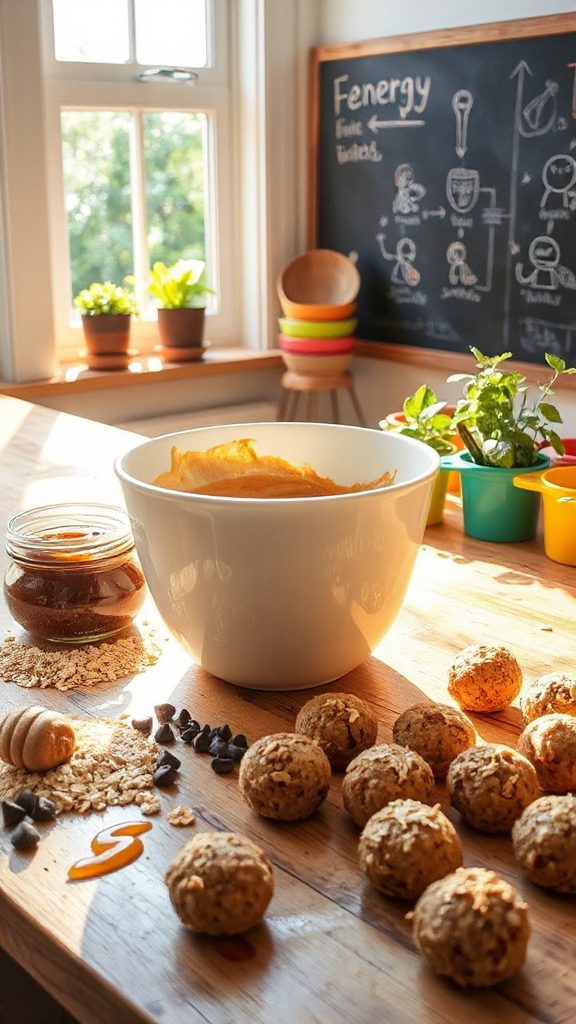
Nut Butter Energy Balls are a delicious and nutritious snack, perfect for a quick energy boost and a great way to fuel your body with healthy ingredients. These bite-sized treats are packed with protein, healthy fats, and natural sweetness, making them a favorite among fitness enthusiasts and those looking for a wholesome snack. They also wonderfully demonstrate the concept of energy transformation as ingredients blend together to create tasty morsels that provide vibrant energy.
| Ingredients | Quantity |
|---|---|
| Oats | 1 cup |
| Nut butter (peanut, almond, etc.) | 1 cup |
| Honey or maple syrup | 1/3 cup |
| Chia seeds | 2 tablespoons |
| Mini chocolate chips | 1/2 cup |
| Vanilla extract | 1 teaspoon |
| Salt | a pinch |
| Optional add-ins (dried fruit, seeds) | as desired |
Cooking Steps Instructions:
- In a large mixing bowl, combine oats, nut butter, honey or maple syrup, chia seeds, vanilla extract, and salt. Mix until well combined.
- Fold in mini chocolate chips and any optional add-ins you desire.
- Scoop out small portions of the mixture and roll them into balls, approximately 1 inch in diameter.
- Place the energy balls on a parchment-lined baking sheet and refrigerate for at least 30 minutes to set.
- Store in an airtight container in the fridge for a quick energy snack anytime! Enjoy your nutritious energy balls that transform simple ingredients into a cohesive, energizing treat!


